Overview
This guide explains how to use modified NDVI cameras with DJI drones. This article provides steps to improve your flight and data capture, which may help mitigate some common map quality problems. DroneDeploy cannot guarantee map quality with modified cameras due to the inconsistent input imagery.
Availability
This information applies to all users flying a DJI drone with a modified NDVI camera.
How to Fly with a Modified NDVI Camera
Follow these steps to improve your flight and data capture.
Open the DroneDeploy App and Adjust Settings
In the DroneDeploy mobile app, navigate to the Account Preferences menu. Toggle on the Use 3rd Party Camera setting. Please note that your live video feed is disabled during the flight if you toggle on your 3rd Party Camera setting.
Plan Your Flight
Plan your flight, ensuring to set both the Frontlap and Sidelap to 80% to compensate for blurriness at the edges of images.
Increase Flight Altitude
Increase your flight altitude. A good starting point is 300 feet. We recommend performing small test flights at various altitudes to determine the best height for your specific camera.
Adjust Manual Camera Settings in the DJI GO App
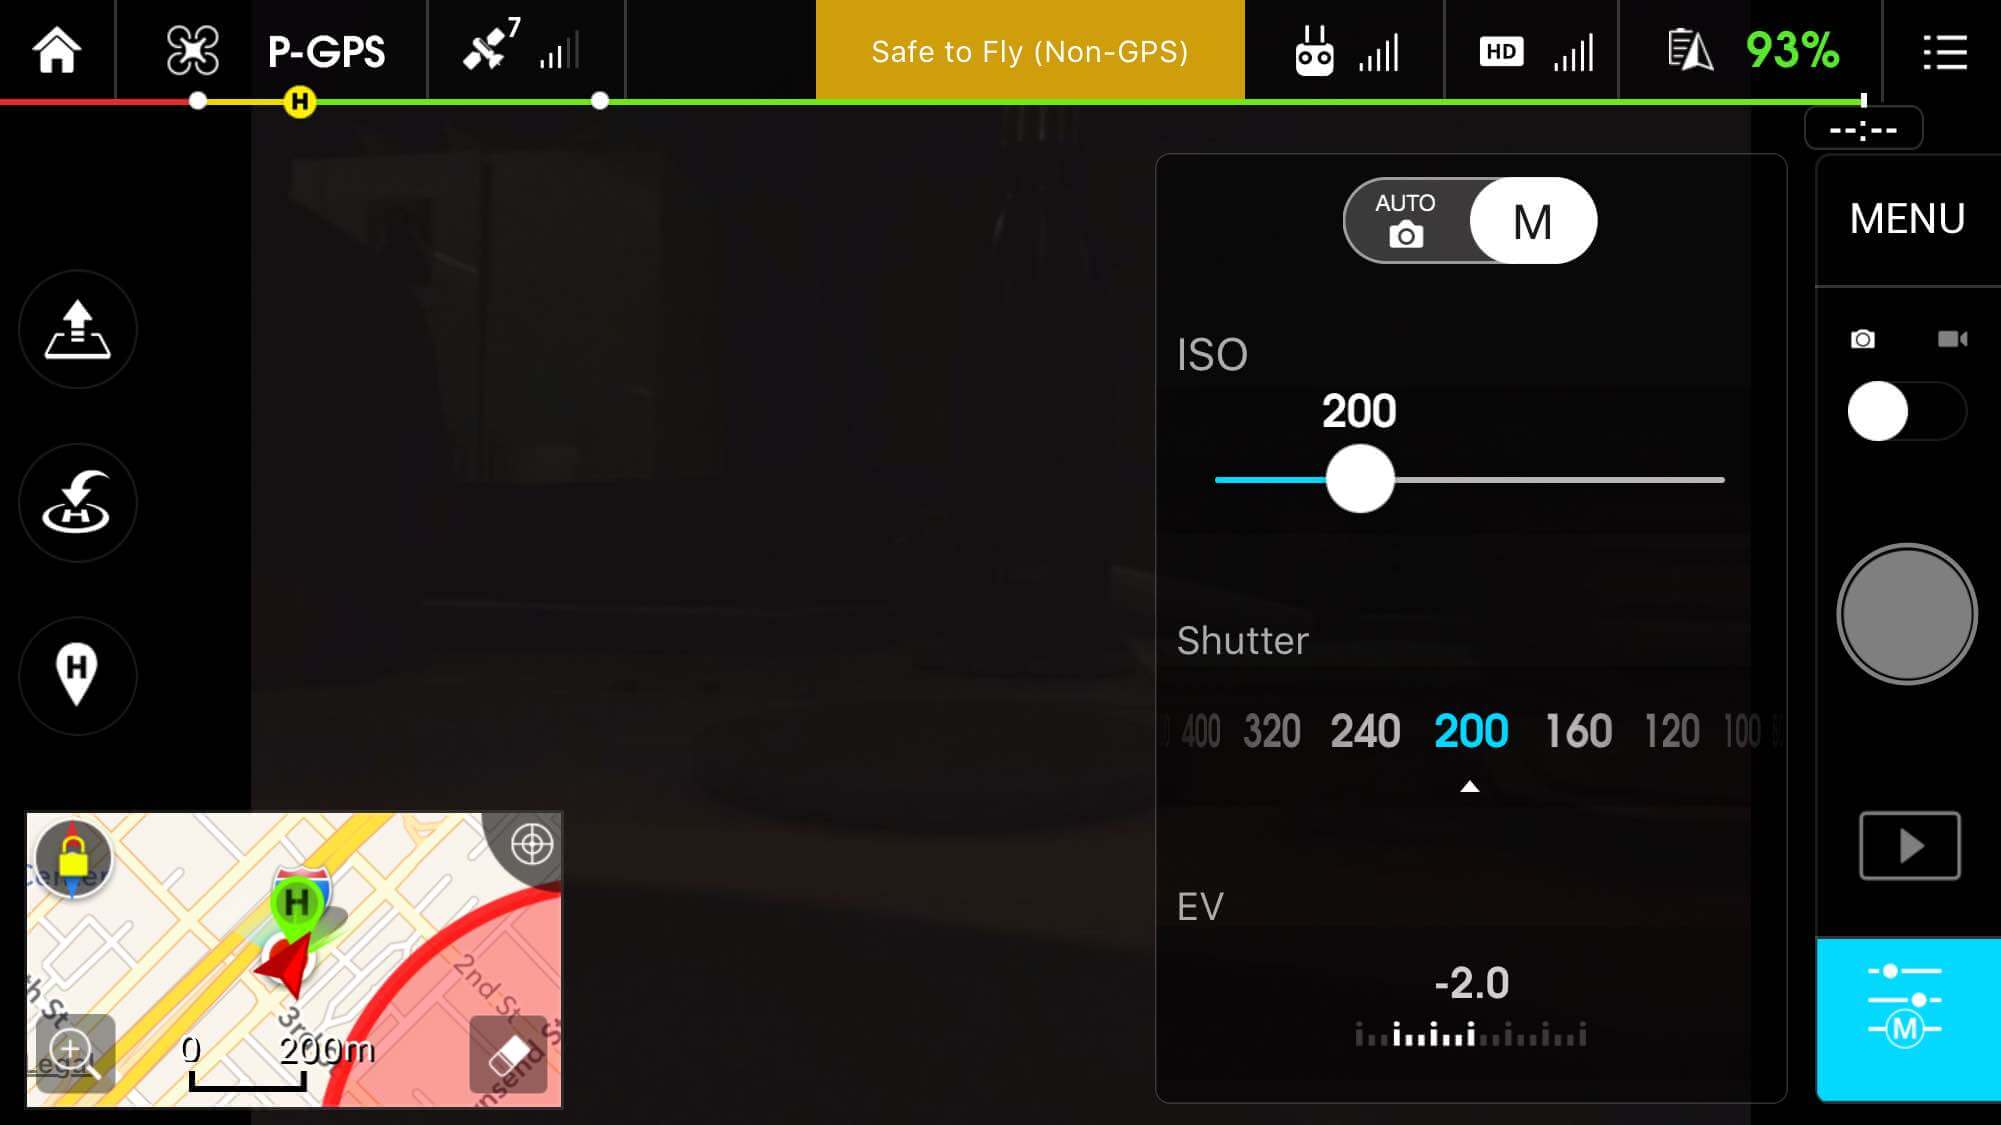
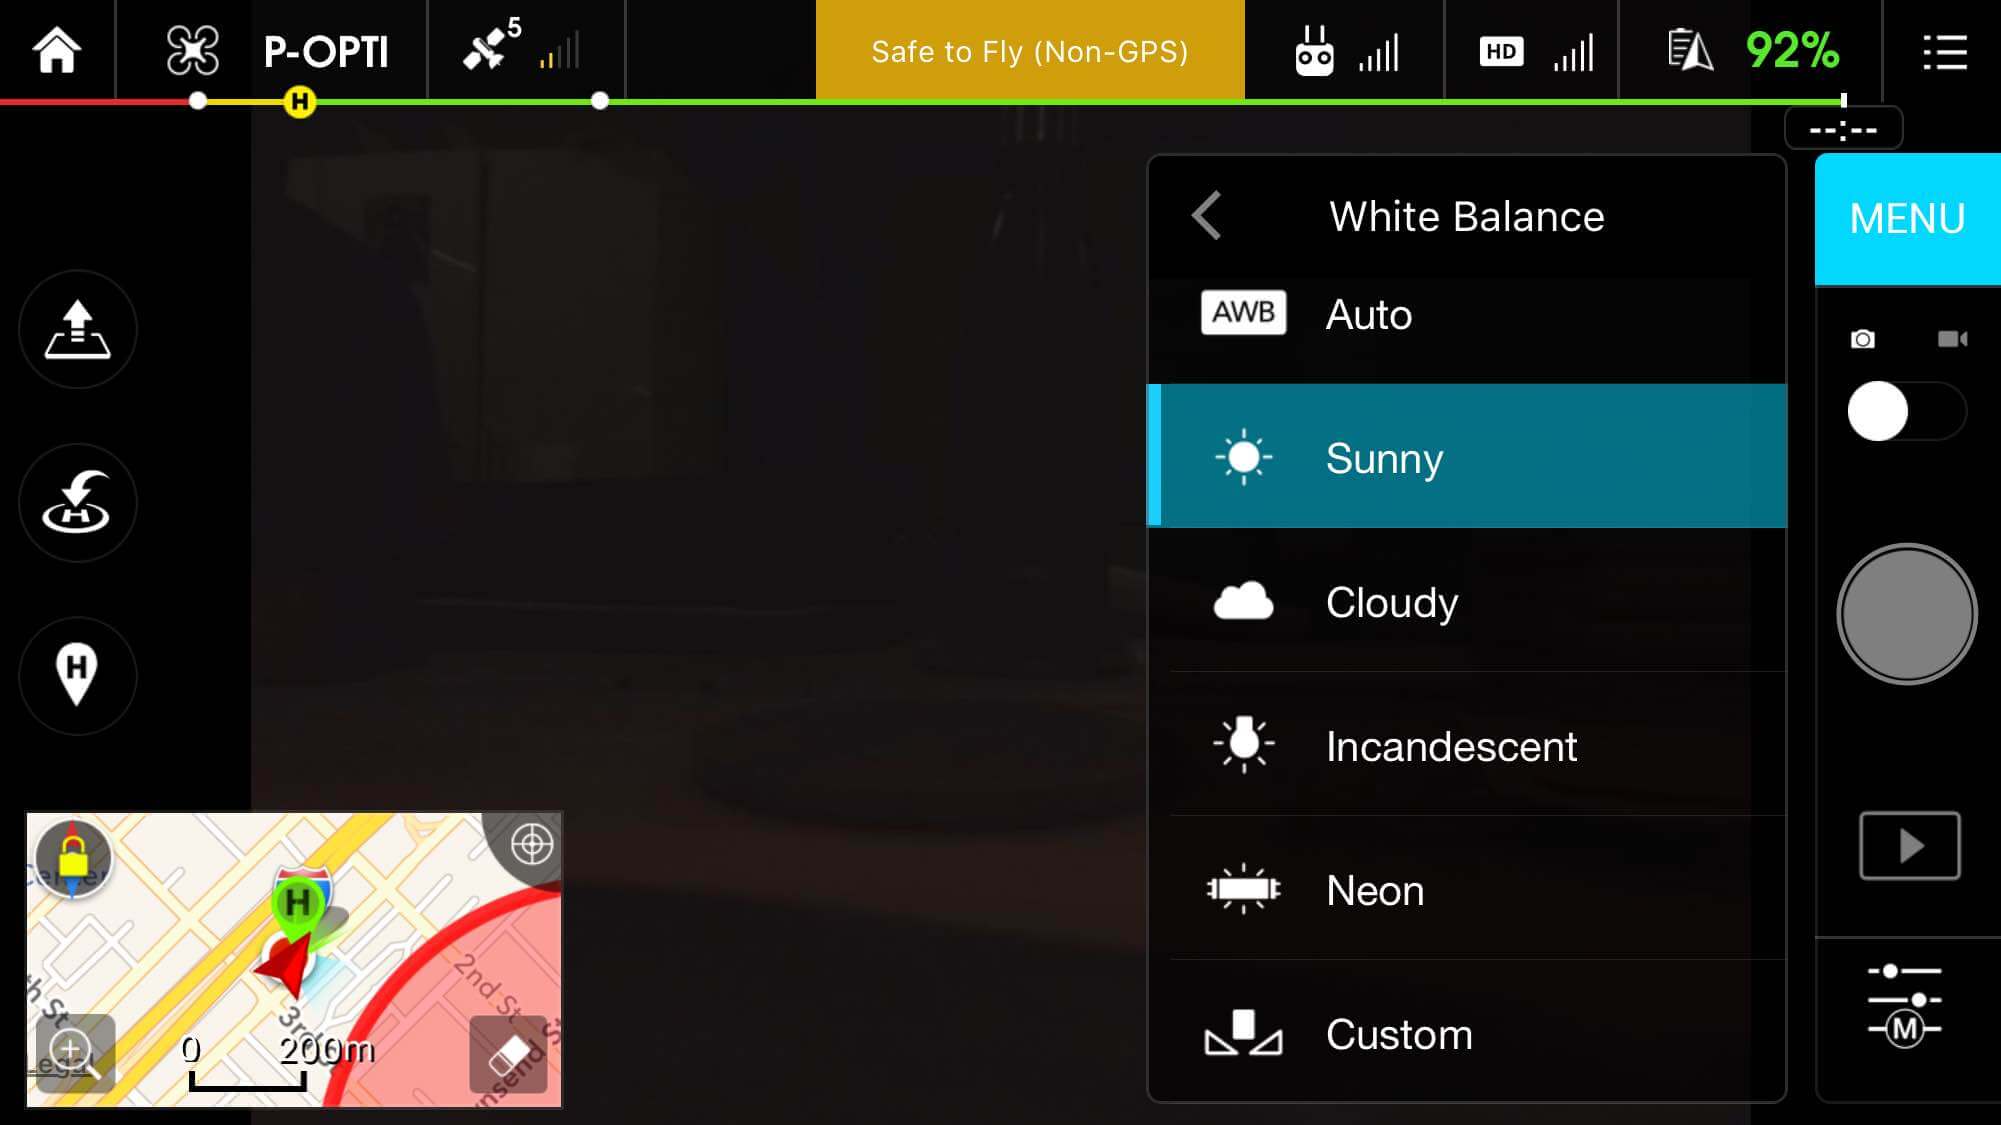
After saving the flight plan, close the DroneDeploy app and open the DJI GO app to set your manual camera settings. We recommend the following:
- ISO: Set to 100 to reduce image noise.
- Shutter Speed: Use 1/200 or faster. If the image appears overexposed, adjust to a faster speed.

- White Balance: Set to Sunny or a custom value if necessary.

Take a Test Photo
Take a test photo in the DJI GO app to ensure good image quality.
Start the Mission
Close the DJI GO app and reopen the DroneDeploy app to fly the mission.
Limitations
Using a modified NDVI camera can result in less-than-optimal image quality. Common issues include blurriness, particularly at the edges of the images. Please note that we cannot guarantee a high map quality with these types of cameras.
If you encounter any issues, please contact our support team (support@dronedeploy.com) for assistance.
2.1