You may want to add more images to your map for several reasons, such as:
Using the Point of Interest tool in DJI GO to capture additional images for a 3D model
Capturing extra imagery to improve map quality
When a flight did not sync to your Dashboard
When sections were left out of your map
Following the steps below restarts the processing of your map with the additional data.
Note: The maximum number of images per map varies based on your DroneDeploy plan.
How to add images
-
Download images to your computer.
If you combine flights, ensure the file names are not the same as your previous set of images. For example, DJI drones automatically restart numbering at 1000 images.
-
Open your DroneDeploy.com dashboard.
Navigate to a web browser instead of the DroneDeploy mobile app.
Select a project from Quick View or use the search bar to find the project your map is in. Then, click on that project.
Use the arrow at the top of your project to view the map you want to add additional images to.
Make sure you press the Explore option at the top of your dashboard.
Then, click the map details button in the left panel.
-
Click the Add More Images Button.
Click the + button next to the image count.
-
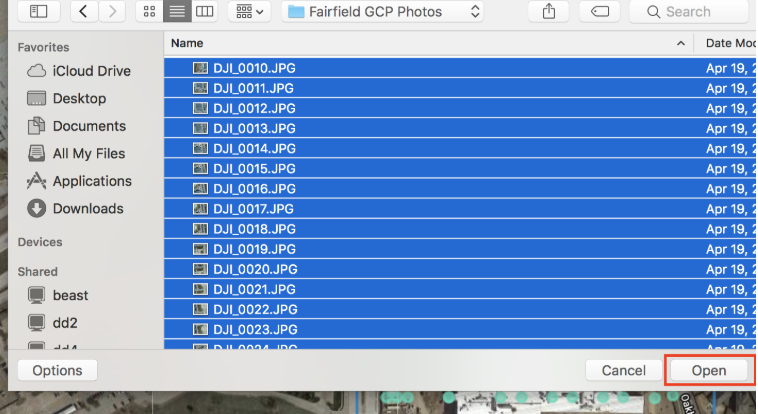
Select the new images to upload.
Click the Select Photos button.
Select the folder that contains your images.
Select all images and click Open.
-
Review the boundary.
Always review your boundary line to ensure it includes the entire expected processing area before submitting the new images. Reviewing this is important because crop geometry has been known to interfere with processing.
-
Click Upload Images.
Once you complete the steps above, your map will restart processing with the full new images included. You will receive a new email when the map is completed.
V2.2