The contour files export feature, located in the Elevation toolbox, is available to all customers subscribed to Individual, Advanced, Teams, or Enterprise plans. These tools equip users with elevation data that users can export and display in GIS software for further analysis.
This guide explains how to export DXF and SHP contour files from DroneDeploy and import them into QGIS. Additionally, you will learn how to overlay them on a GeoTIFF, which results in a bold, data-rich display you can share with your stakeholders.
Exporting Contour Files and Elevation Map from DroneDeploy
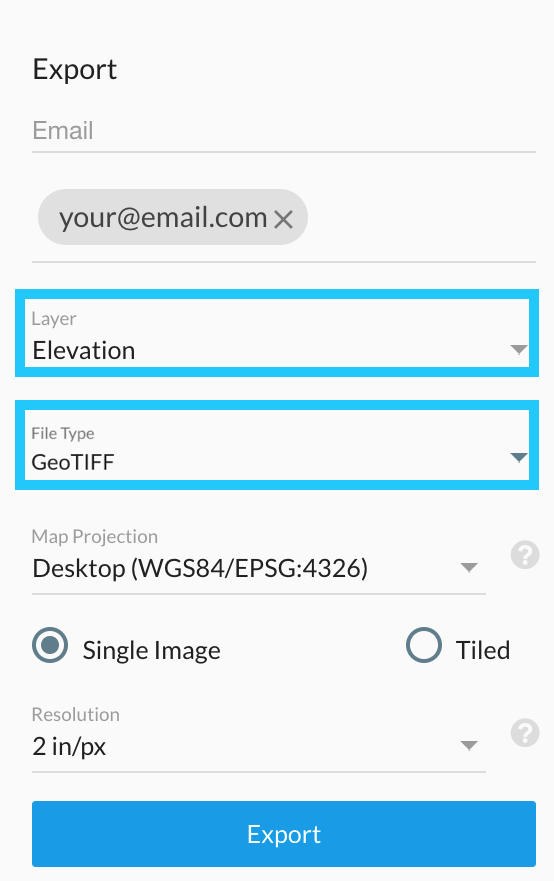
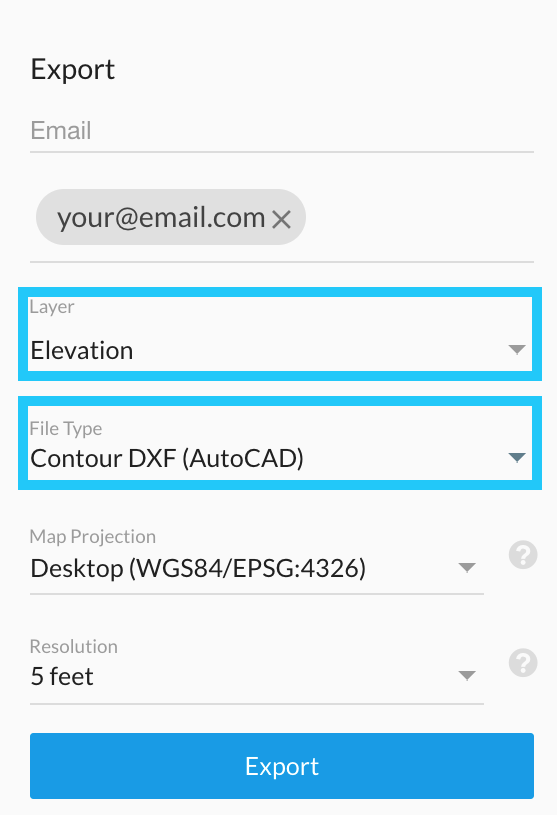
Download the Elevation Map and the Contour files from DroneDeploy. While exporting the files (GeoTIFF, SHP, DXF), ensure you select the same Map Projection for all of them.
Exporting files using Web Mercator Projection:
-
Elevation map using the GeoTIFF file format
-
Contour file as DXF file
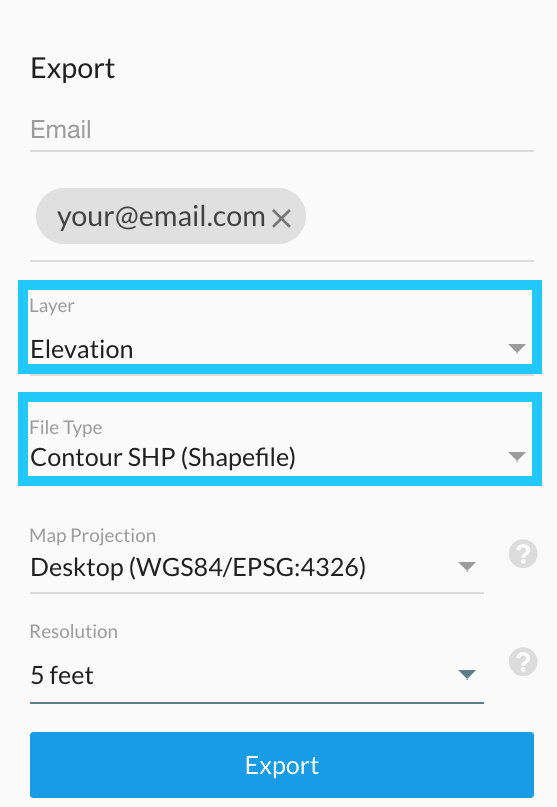
Contour file as SHP file
Notes regarding the export parameters
This specific example uses the Web Mercator Projection (EPSG:3857), but you can use the Map Projection that better works for your needs.
You can export the Elevation Map using GeoTIFF as Data Type, or you can choose to export it using the Raw Elevation Values option if it is available on your plan. Either way works.
Once you have exported and downloaded the data to your computer, open QGIS.
Importing Data into QGIS
Open QGIS and start a new project.
Let's import the Elevation Map (GeoTIFF file) by clicking on the Add Raster Layer icon:


Elevation Map Once you import the Elevation Map to your workspace, it takes the Coordinate Reference System (CRS) of your TIFF file. In this case, the CRS is Web Mercator Projection (EPSG code: 3857).

Now, add the contour files by clicking on the Add Vector Layer icon:

You can choose to import either the SHP or the DXF file. Both are vectorial information and can be imported into QGIS.
If you import the SHP file, it should overlay with the Elevation Map as shown in the image below:

If you notice that the Elevation Map is rendering incorrectly, follow the steps described in the Displaying Elevation Data in QGIS documentation.
If you are using a DXF file, follow these steps:
-
Click on Add Vector Layer to import the DXF file. When you add this vector layer, you will see a message saying that the CRS for that file is undefined:

-
Define the CRS for the DXF file. Once you import it, you see it in the Layer Panel. Right-click on it, and then click on Properties.

-
Click on the General tab. On the Coordinate Reference System menu, click on the Select CRS icon:

-
In the CRS Selector window, in the Filter search bar, type “3857”, which is the EPSG code for Web Mercator Projection. Select the correct CRS and click OK.

Congratulations! You should now see the DXF file overlaid on top of the Elevation Map.
QGIS Documentation
For further information regarding the use of QGIS, review the QGIS user guide.
V2.2