DroneDeploy now supports the creation of Progress Reports using the Walkthrough app on mobile. Available to all trial users, or customers with a 360 walkthrough subscription. Learn more about Progress Reports & Mobile Capture here and our paid subscription plans or start your trial today.
1. Open Your Report
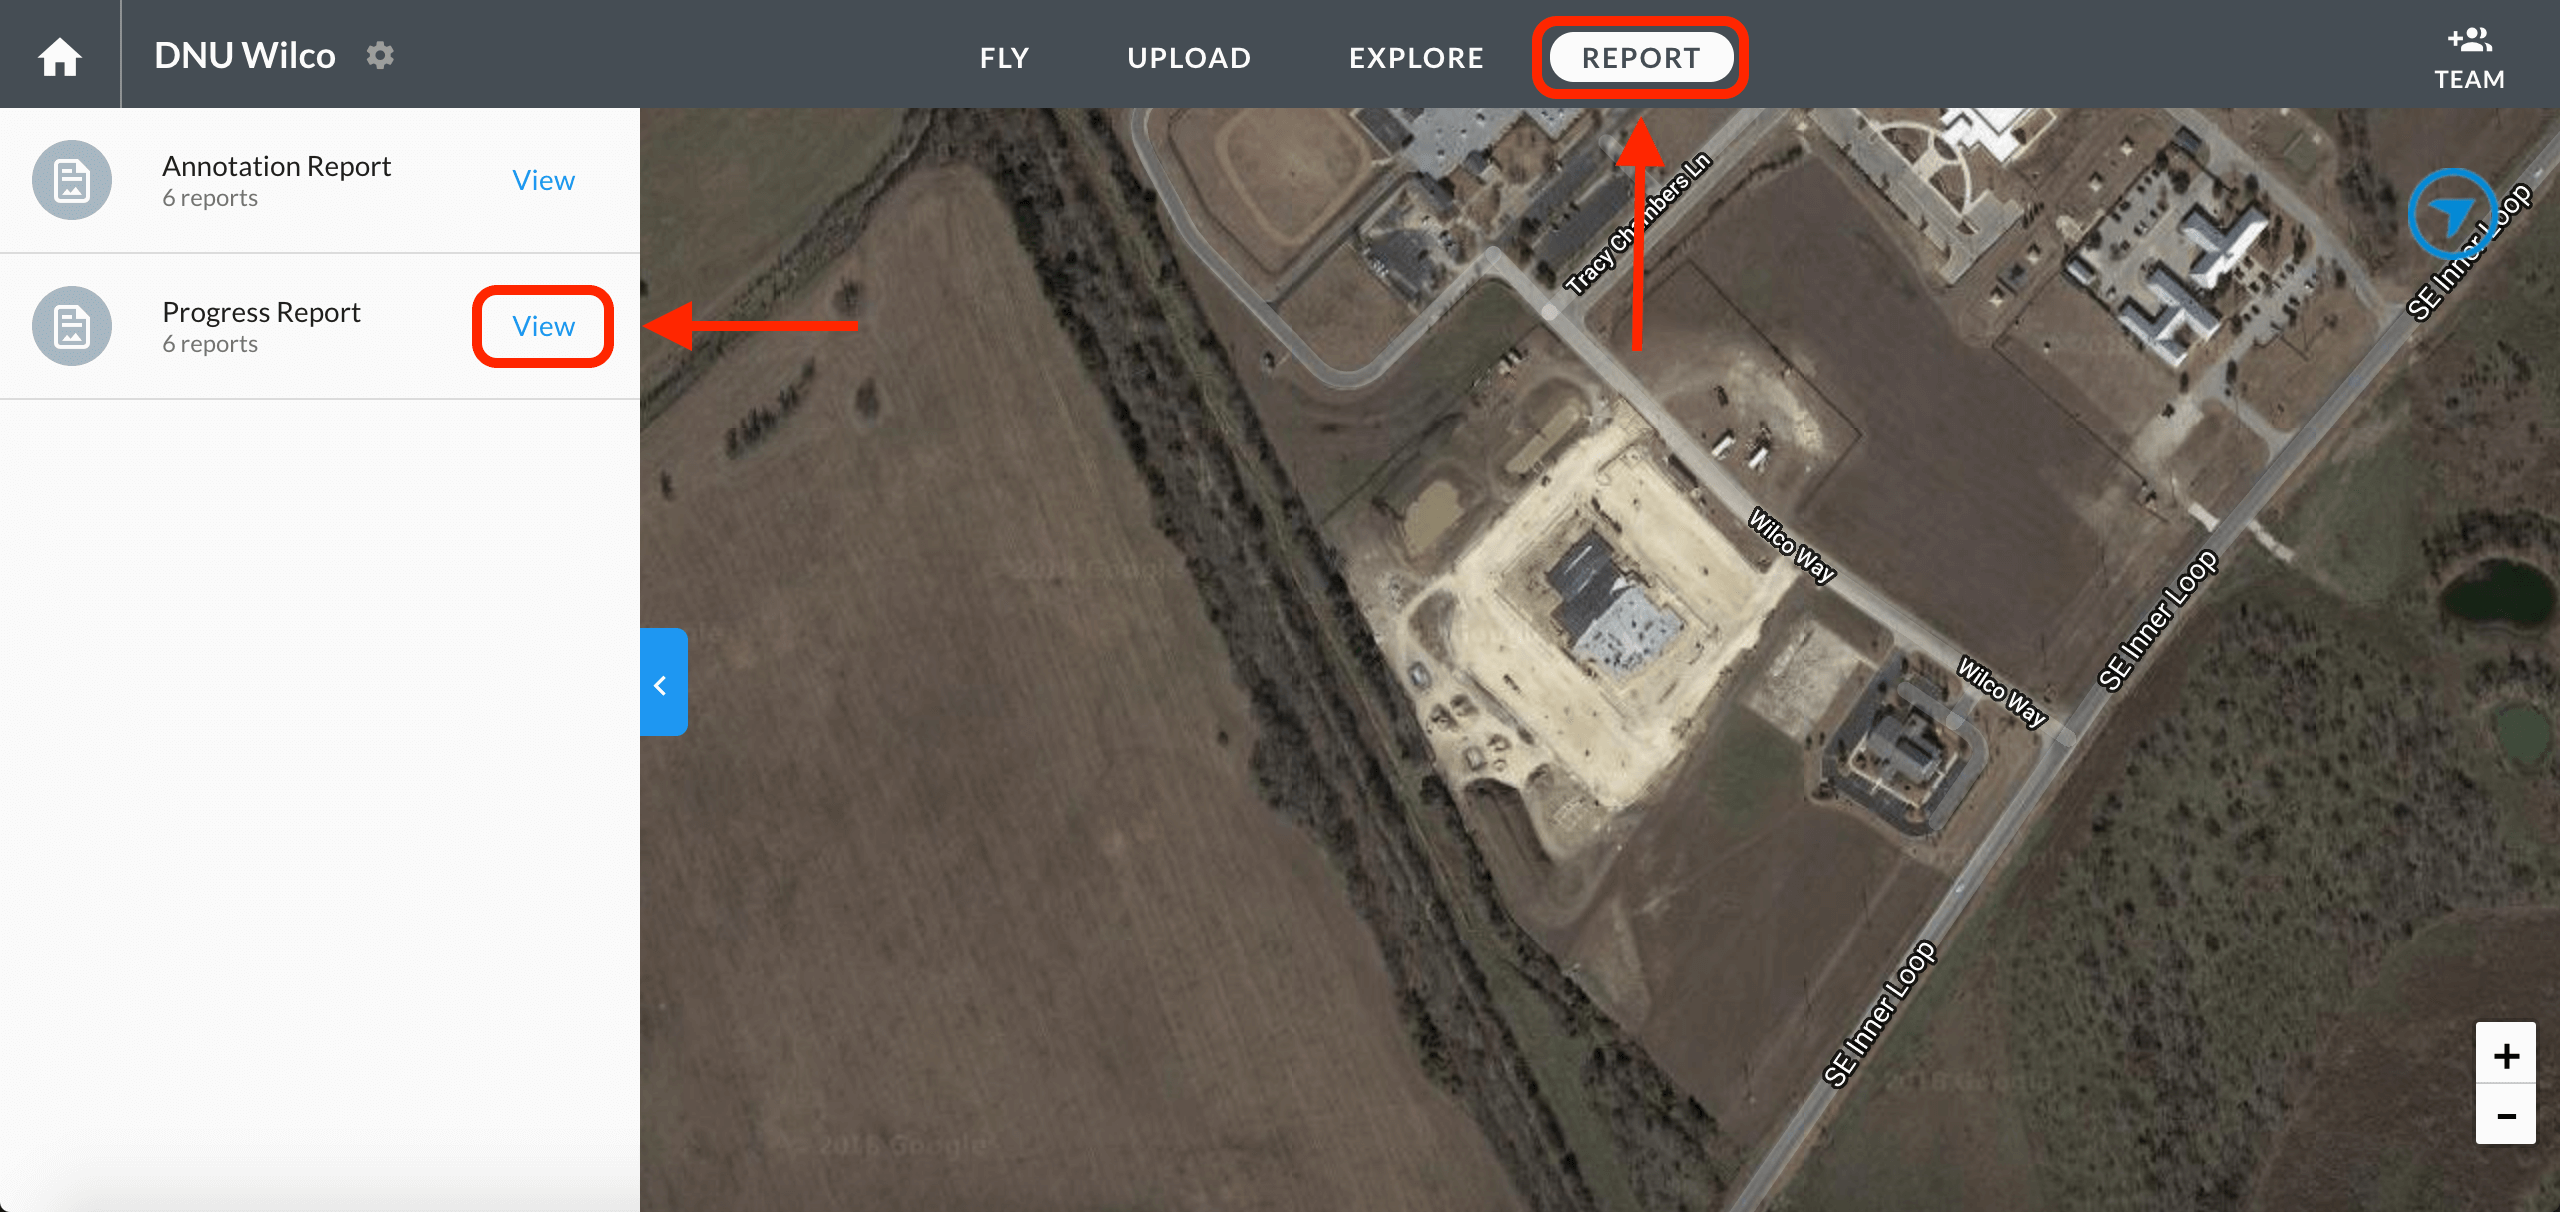
Shortly after uploading your progress photos, either wirelessly or on desktop, you can find the progress Progress report within a Project by navigating to the Report section at the top of your screen and then clicking the View option. The base map for the progress report may take a few minutes to load.

Navigate to the Report option at the top of your screen to view all the reports associated with your map.
2. Customize Your Report
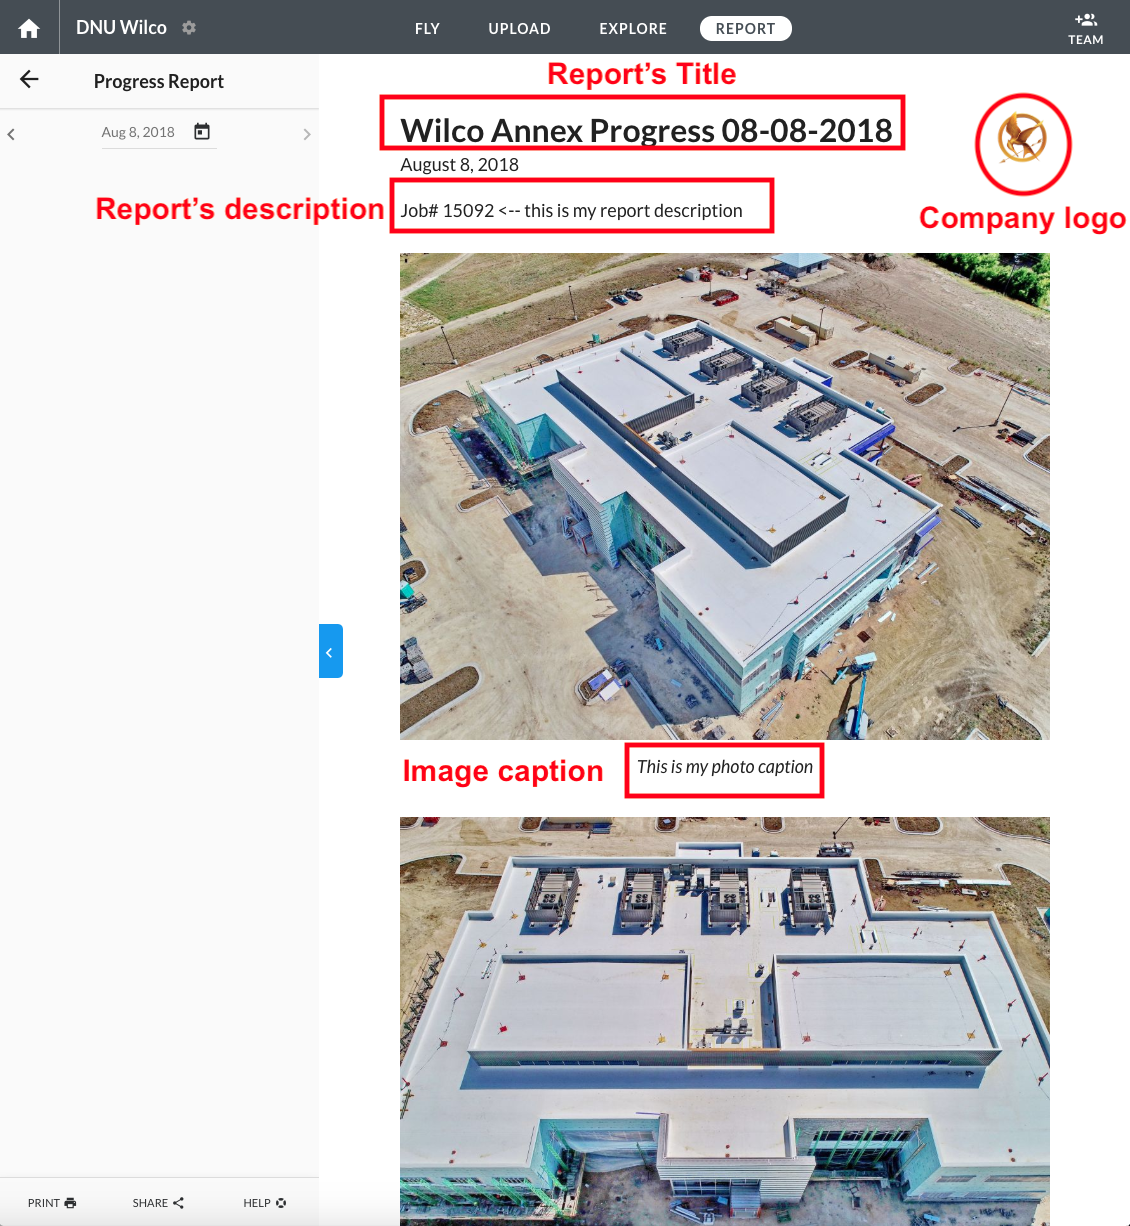
Edit the report title, report description, and photo captions to customize your report. Edits are automatically saved when you click out of the text box or when you press the tab key on your keyboard. If you have an Individual, Advanced, Teams, or Enterprise account, your company logo will appear in the top right corner of your report. More information on uploading your company logo to your DroneDeploy account here.

Edit any field by clicking on it.
3. Share Or Print Your Report
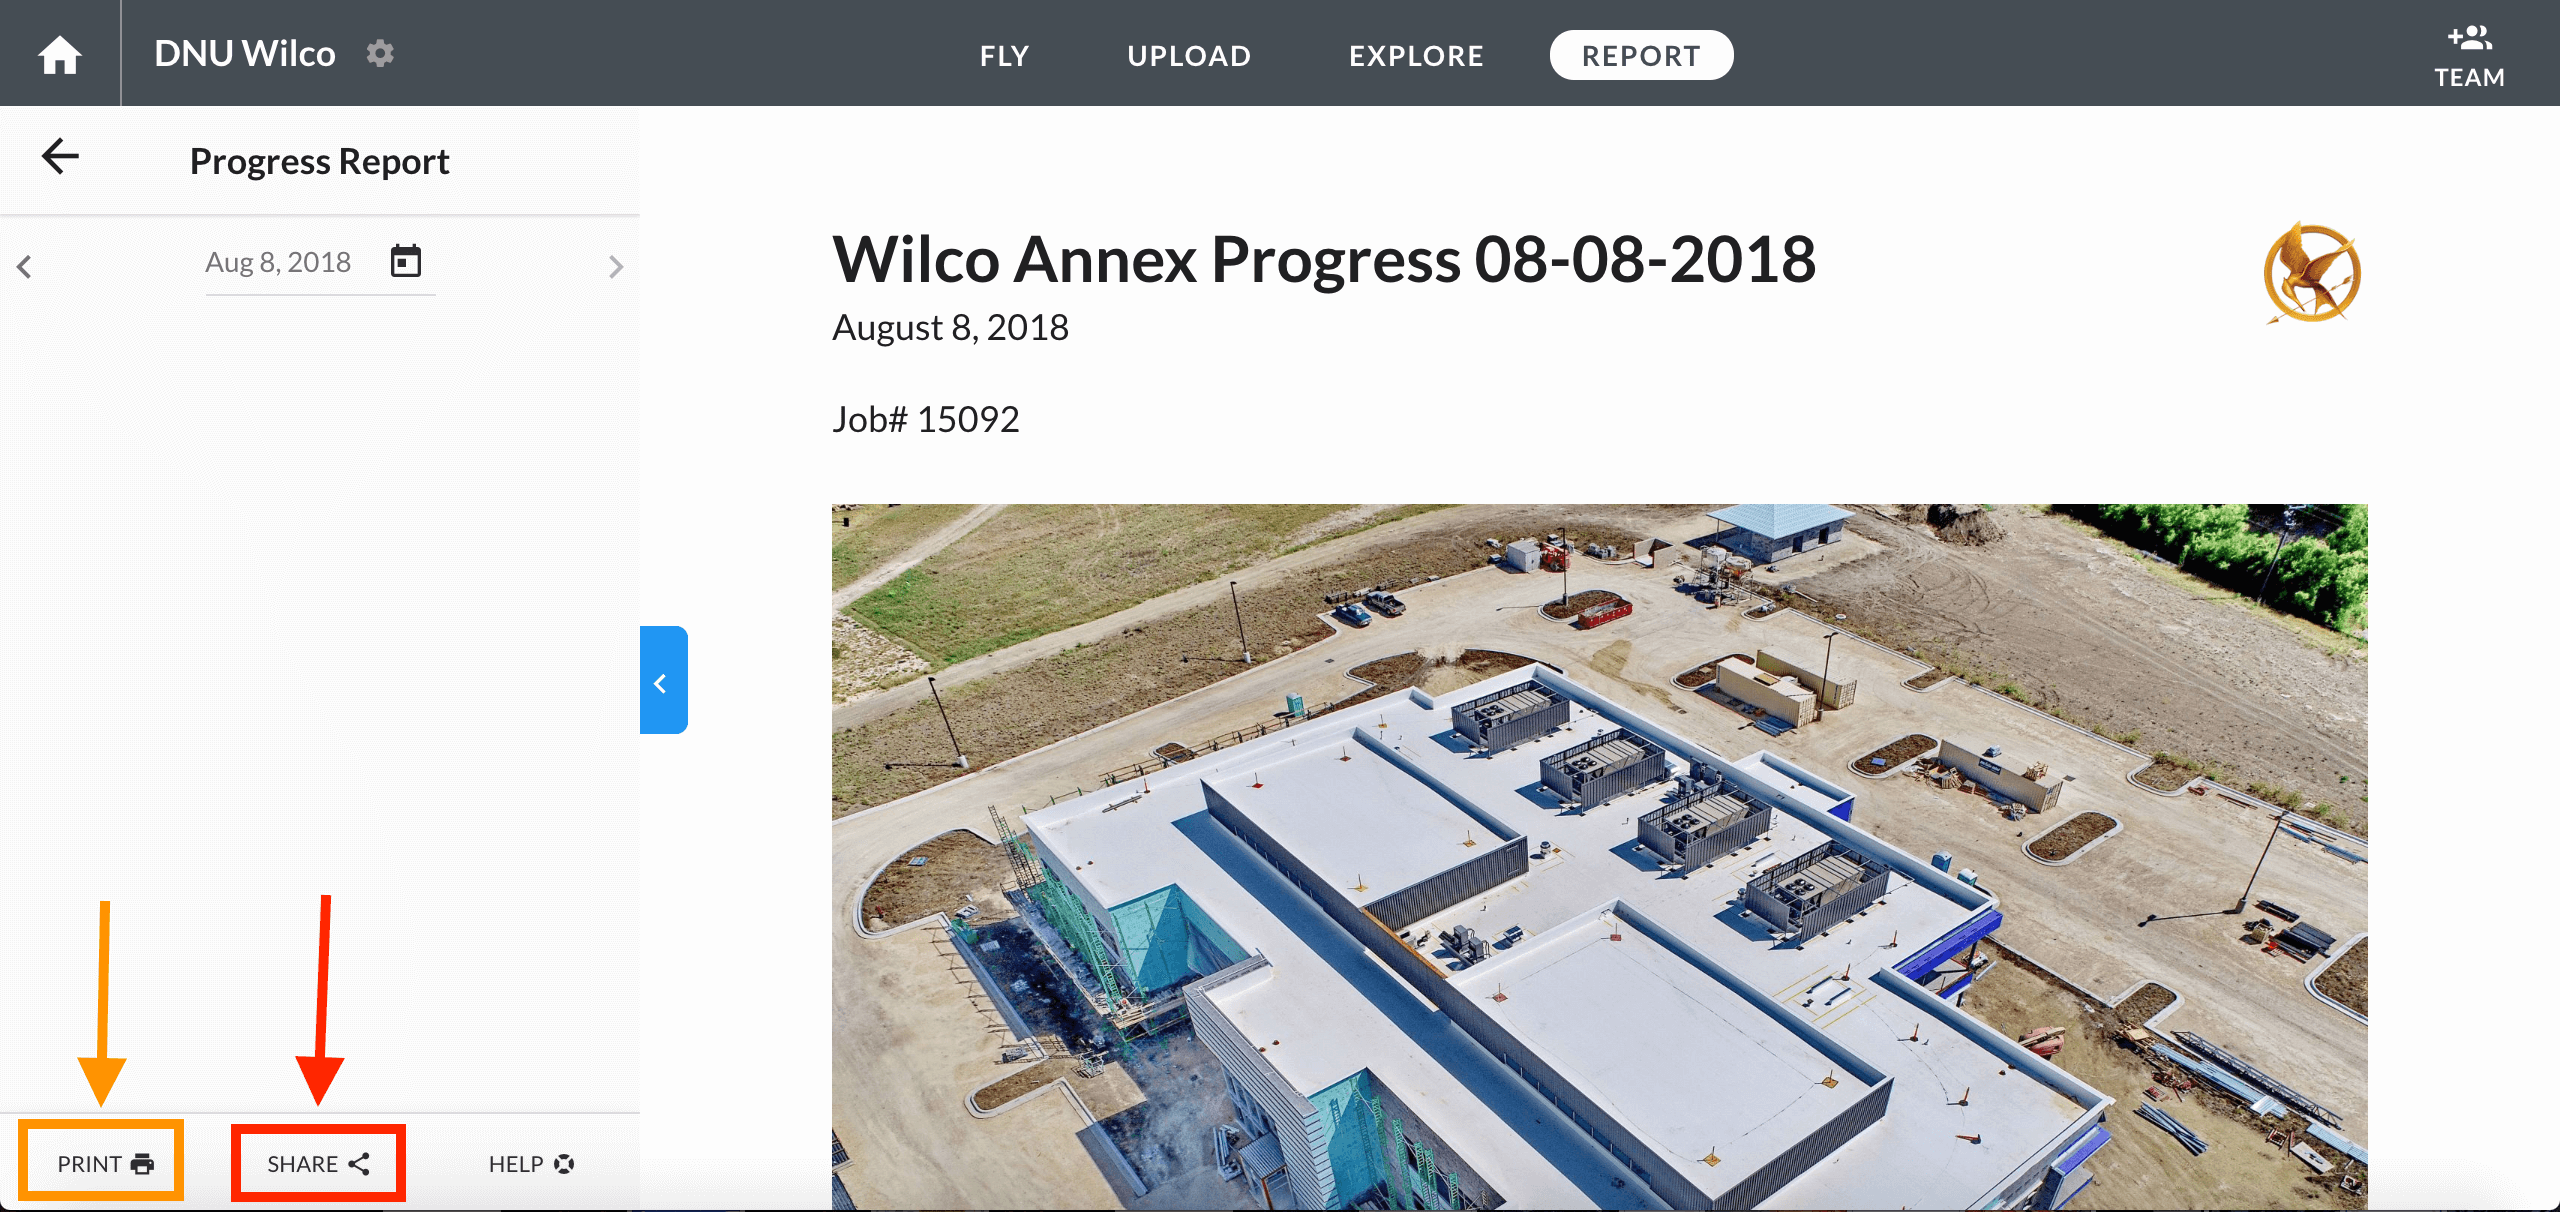
Click the Share icon to copy a share link to your clipboard. This creates a public share link that anyone can view, even if they do not have a DroneDeploy account.
Click the Print icon to send the progress photo report to your printer.

Share or Print your report
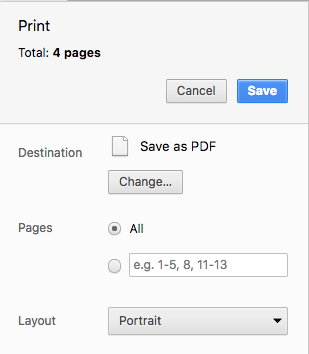
You can also select Save as PDF in the print menu to download your report as a PDF file.

Instead of selecting a printer, select the Save as PDF option to download your PDF file.
Editing the Photo Report or Group
Want to remove or re-order your photo group? Do this from the Reports page.
Navigate to your Report from either the Reports tab at the top of the map view, or from the left panel choose "Photos", then select the group you wish to edit.
Click the three dots to navigate to "View Photo Report":
When the report page opens, click on the photo you wish to edit.
This will reveal a blue bar at the bottom of the page. Use the up/down arrows to re-order the photo. Click the trash icon to delete this photo from the Report.
Deleting the photo this way will also remove the image pin from the Explore page.