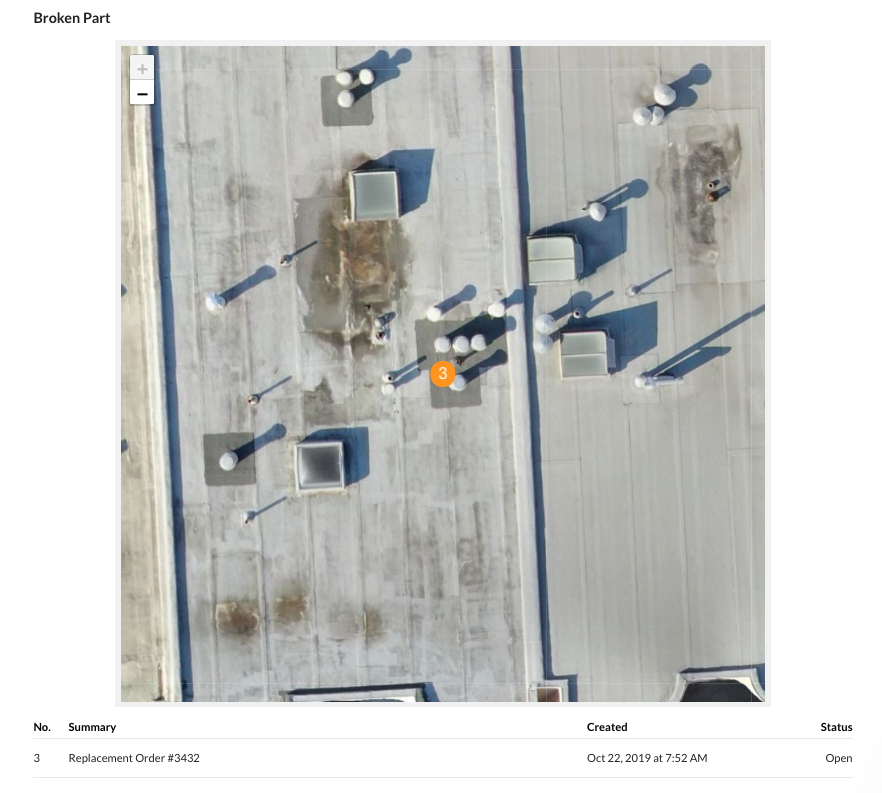
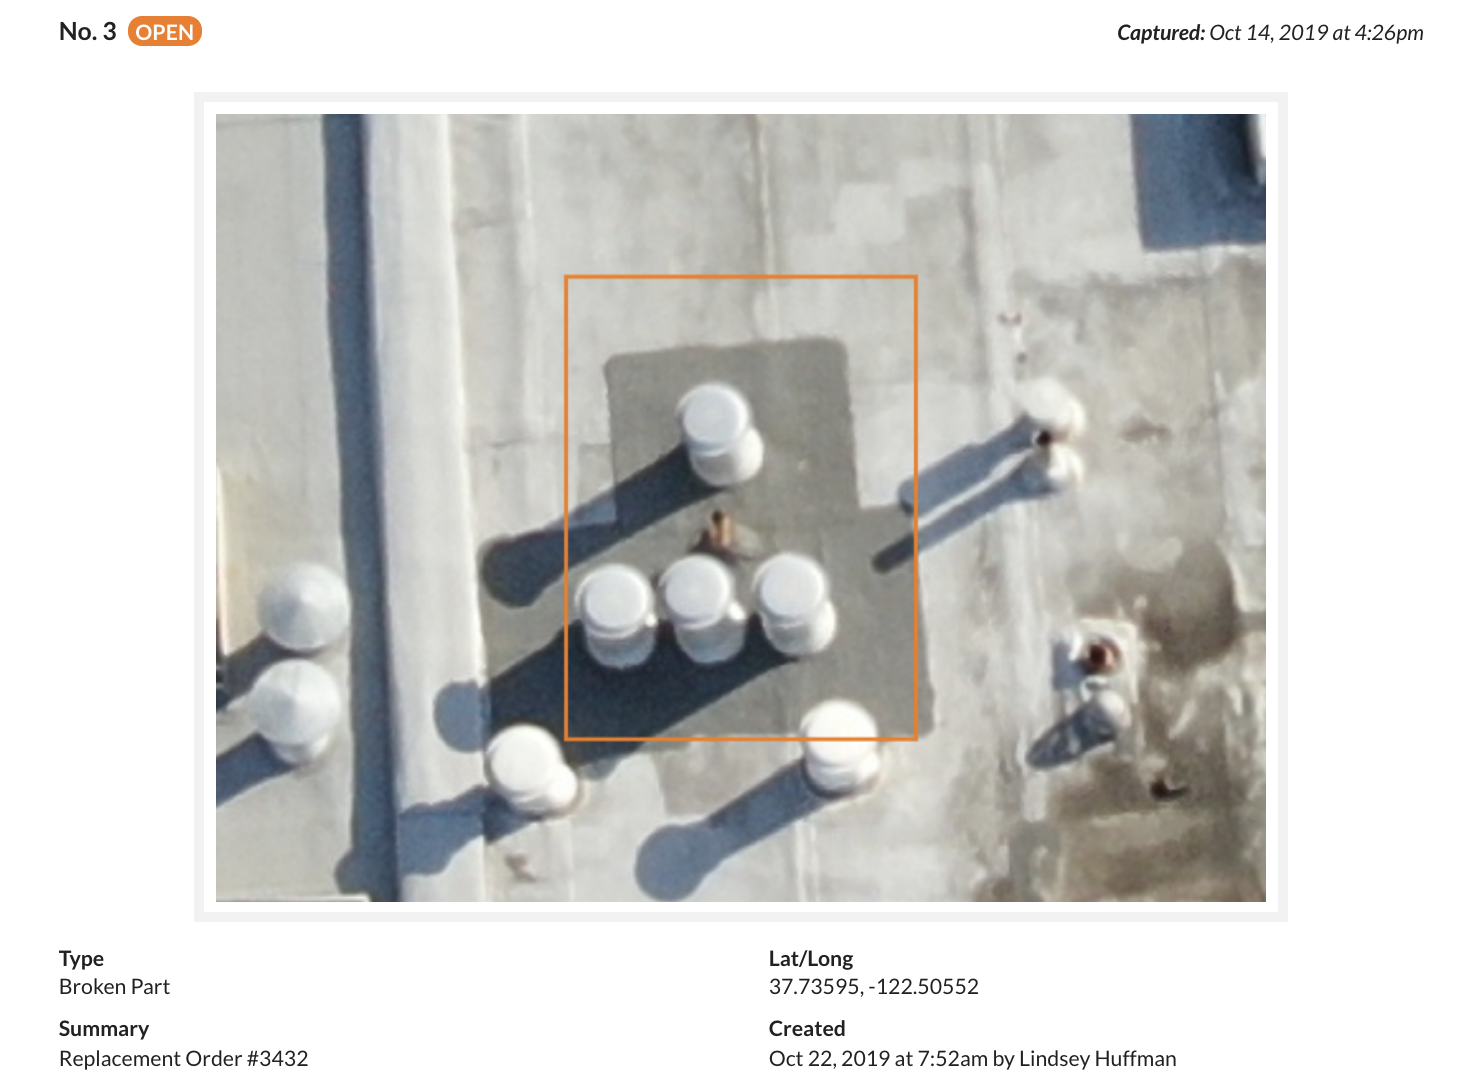
Easily share the results of your inspection with your team by automatically generating an inspection report. The inspection report includes the map locations of all of the Field Notes so that workers can easily find where each field note is, as well as close-up imagery and all of the field note details they need to address.
To view the inspection report, just go to the "Report" section and you'll see a printable report of all of the field notes created for that project.
The Field Note Report is available in the Report section within a Project or in the Reports section of your Exports tab for single maps and includes a PDF file of your map, table of field notes, sharing, co-branding and more.
Create Field Notes
On your annotations, create field notes using the "Create Field Note" button. Field Notes can be created on any annotation type.
If you are creating field notes on a Facade plan, please follow the steps in our Facade Inspection Guide to create a Field Note that will appear on the Field Note Report.
As of April 2025, Field Notes created on interior panos are not supported.
Generate a Report
From the Reports tab, select Field Note Report to generate the report of your site.
The report will include an overview of the total number of field notes reported and then organize them by type. Each field note will display the type, summary, date created and status of that field note.

A magnified image of the field note is below, providing the type, summary, location and date captured.

If you want to report only a subset of all field notes -- for example, only open field notes or field notes of a particular type -- you can use the filters in the sidebar to customize your report.
Print Your Report, Or Save As A PDF
You have the option to Print, Share, download the CSV file, or Contact Support for help!
To print or save as a PDF, select Print, then choose the destination. Even upload it to your Google Drive!
Frequently Asked Questions (FAQ)
-
Can I share a View-Only Link (link that does not require sign in) for the Field Note Report?
No. Sharing the "Latest Report Link" requires users to sign in to DroneDeploy to view the report. -
Can I generate Field Note Reports for multiple date ranges or media types?
No. The Field Note Report is generated for one media group at a time. It does not group by date. -
How are my Field Notes ordered?
Individual field notes in the report are grouped alphabetically by type, rather than numerical order.
-
Why are the numbers in my report out of order?
When you delete an issue, the numbering does not change. This is designed so that the numbering stays unique for better tracking. For example, the report may appear out of order with field notes 1, 3, 4, 5, 7, when field notes 2 and 6 are deleted.
-
Why does the Interior overlay not appear on the Field Note Report?
Field Note Reports do not support Interior overlays, such as floor plan drawings. The field note report will show a satellite base map or a blank screen for interior reports.
-
Why are my field notes not showing in the Field Note Report?
Field Notes created on panorama images from a handheld 360 camera are not supported. Field Notes on Facade plans require a specific workflow. Please review the steps in Facade Inspections under Facade Inspection: Creating Field Notes for a Field Note Report for more details.
If your field note was created on a different media type, please contact support@dronedeploy.com