Initial Progress Report Template Creation
First, visit our articles on Desktop Flight Planning or Mobile App Flight Planning to learn about creating a new project for which a Progress Photos template can be created within.
You'll be instructed to come back to this article when you see the following screen to select a Progress Report flight:
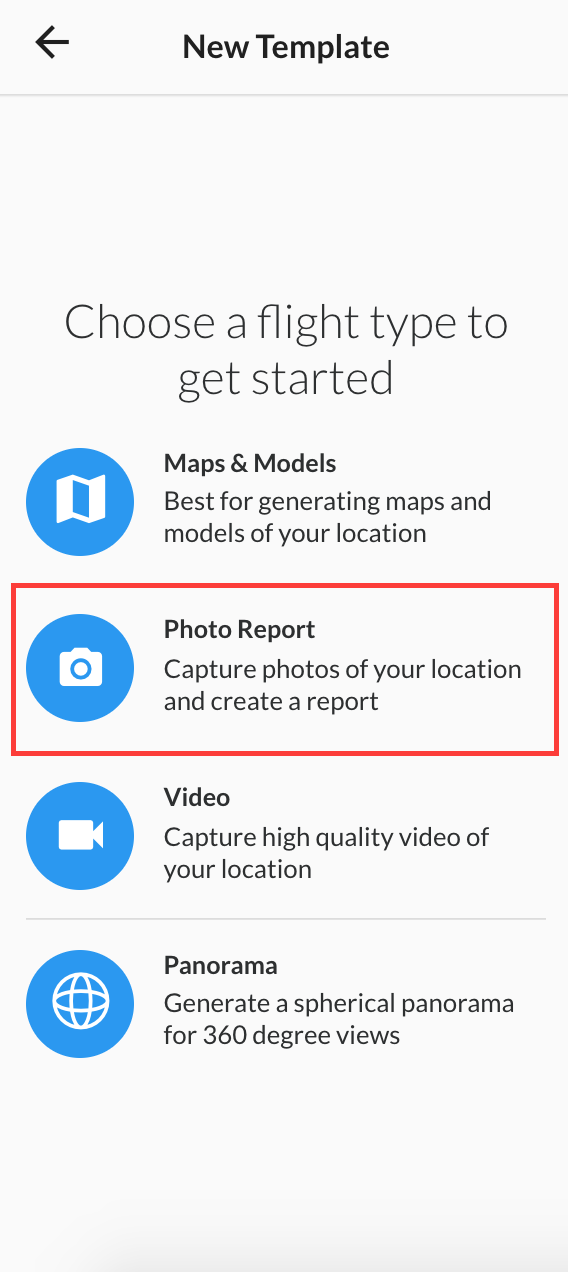
After selecting a new flight template for your project, select 'Progress Report' to create a new Progress Report template
You'll notice that there are four camera icons at each corner of your flight bounding box. Each camera icon represents a photo that will be taken. In the middle, you'll find a grey location marker - the 'Point of Interest' or 'POI'.
You can move both the camera icons and your point of interest and the camera icons will remain oriented towards your POI.
Tap the greyed '+' icon to add another photo/vertex. Tap it again to delete it.
How to customize Progress Photos captured
You can even move the POI outside of the boundary created by the photo locations if you cannot fly directly over what you need a photo of.
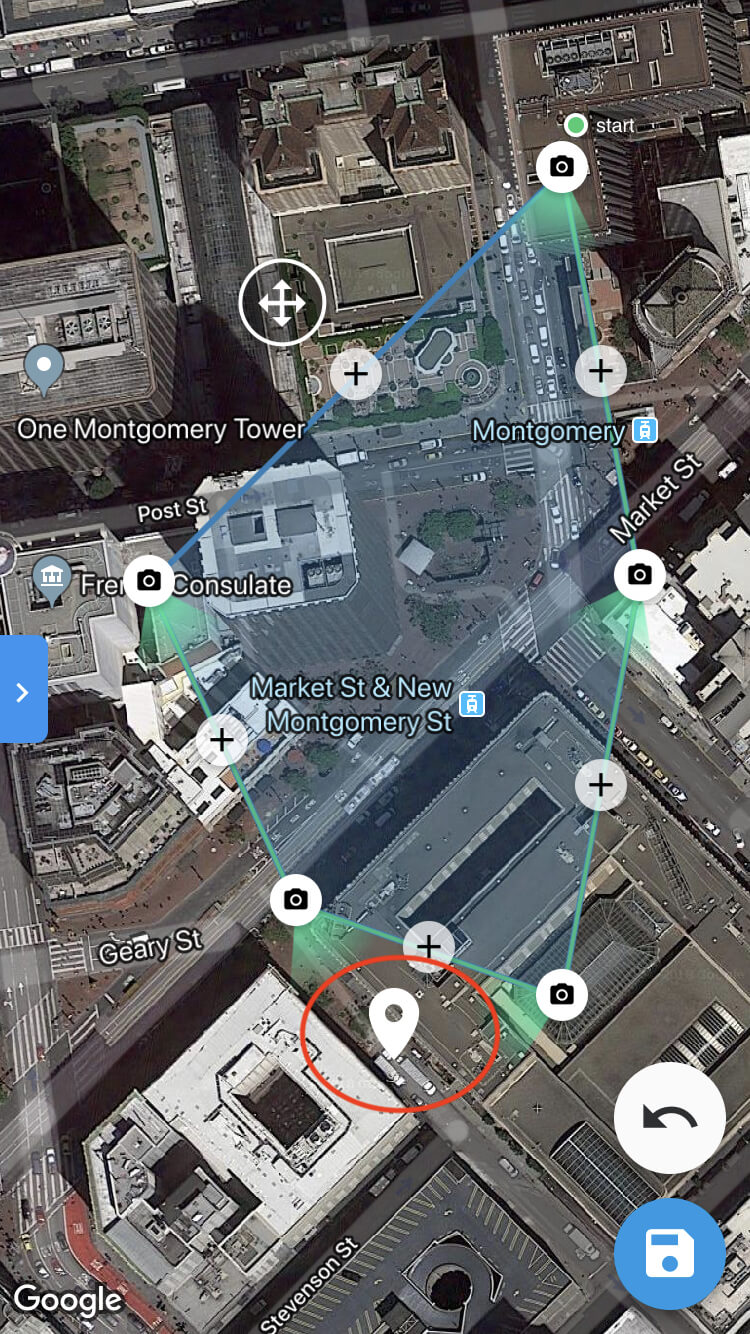
You can see the result of adding photos and moving around all points - the photos will always stay oriented towards the POI
Refine your Angle by Selecting POI and Mapping Altitude
By this point, you've selected the coordinate locations for your camera shots and your POI, but you haven't specified the vertical aspect yet.
If you pull over your dashboard again you can adjust your Flight Altitude and your Focal Point altitude. This effectively chooses the angle and the focus of the photos for your Progress Report flight.
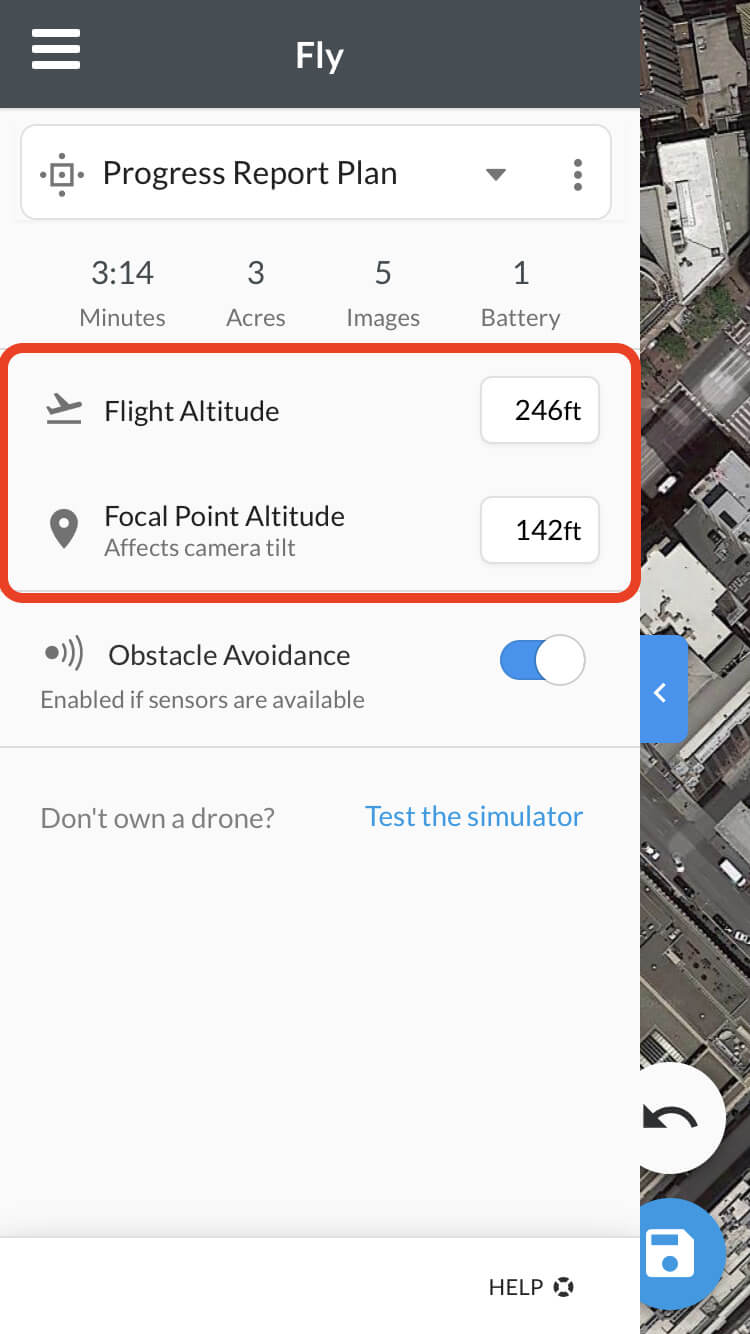
The focal point will always be at or below the flight altitude because the camera cannot go further up than 90* horizontal.
Set your flight altitude such that the field of view for each photo will capture the content you need. The higher you fly, the more you'll capture per photo.
The altitude of your focal point should be the altitude of your subject that best describes the area that you'd like the sharpest detail of.
Choose a Different Flight Template
You can always select a different plan to edit by clicking on the template selector again and choosing a different flight template. You can delete a map plan by clicking on the 3-dotted menu to the right of the name of the plan.
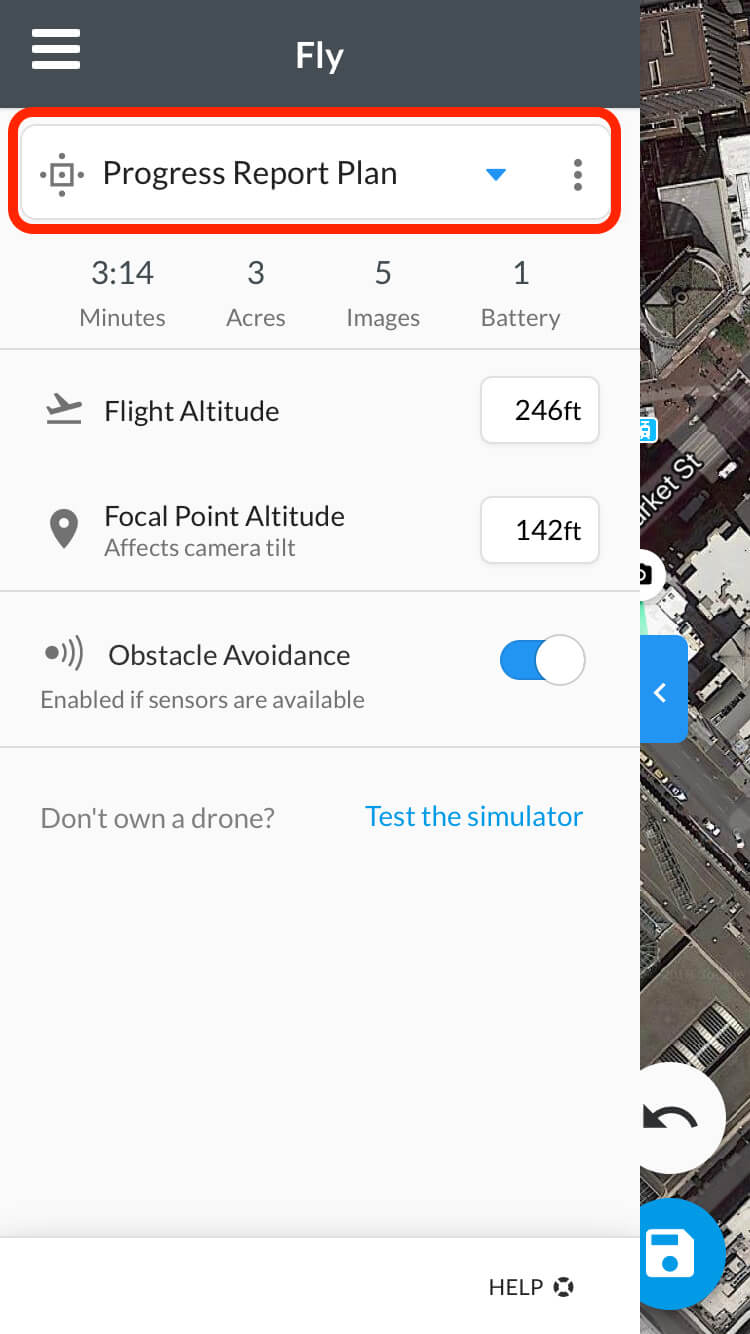
After you've read the Initial Setup for Flying Guide, head out to the field, check your drone in DJI Go and quit, navigate to your template in the DroneDeploy mobile app, and connect to fly!
After flight, the imagery can be uploaded to produce a Progress Report through the 'Upload' tab of your Project:
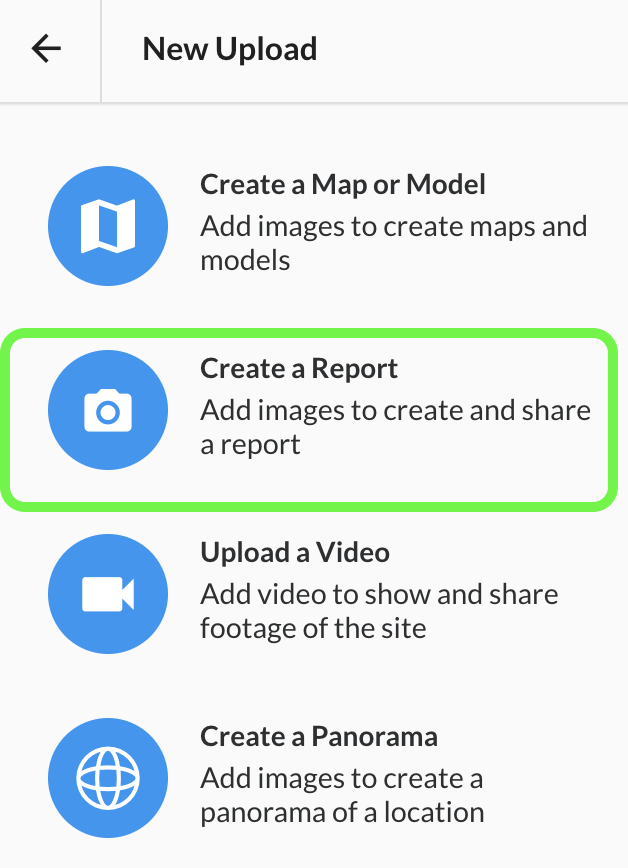
Choose 'Upload photos to create a report'