Create a New Flight Plan
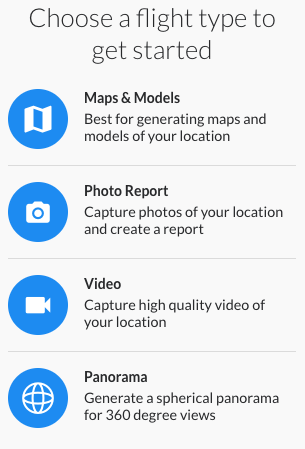
First, create a new Panorama flight plan within your project. You can find this option under "New Flight Template" in your flight plan dropdown.

Panorama Flight Plan
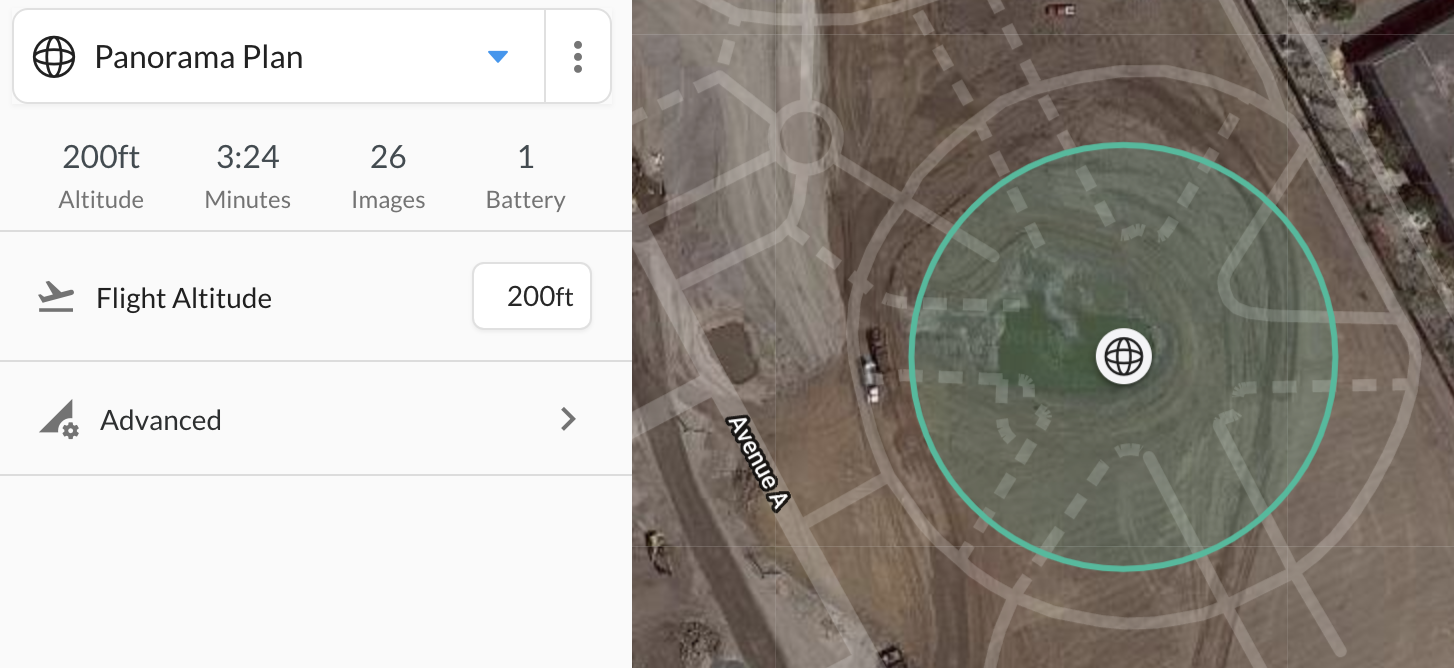
Panorama flights fly the drone to a set perch point to take all images necessary to create an immersive spherical panorama. This will take 26 photos at all angles around the drone for DJI drones. Ensure your altitude is at the highest point of your region of interest. We recommend a flight altitude of 200 ft or above, depending on your capture. The DJI cameras only pitch up to the horizon. If tall structures in the area need to be included in the panorama, account for that via altitude settings.

Chain multiple panoramas using our mission chaining feature, linked here.
Panorama Flight
Panorama flight supports DroneDeploy's standard pre-flight checklist before the flight. Once in flight, the drone will fly to the planned location, take images, and return to land.
Image recording will not start until the drone reaches the perch point for the panorama. Your drone will need to maintain one altitude throughout the panorama flight. If there is a change in altitude, it can result in a low-quality panorama.
Several drones and cameras are less capable of producing high-quality spherical panoramas. Due to this, panorama flights are incompatible with the following drones and cameras.
Phantom 3 * Inspire 1 * Mavic Air
* All thermal cameras (e.g. XT1 and XT2) * All 3rd Party Cameras * DJI Zenmuse X7
& the Olympus M.45mm 1.8 lens on the X5S Camera
Uploading Panoramas
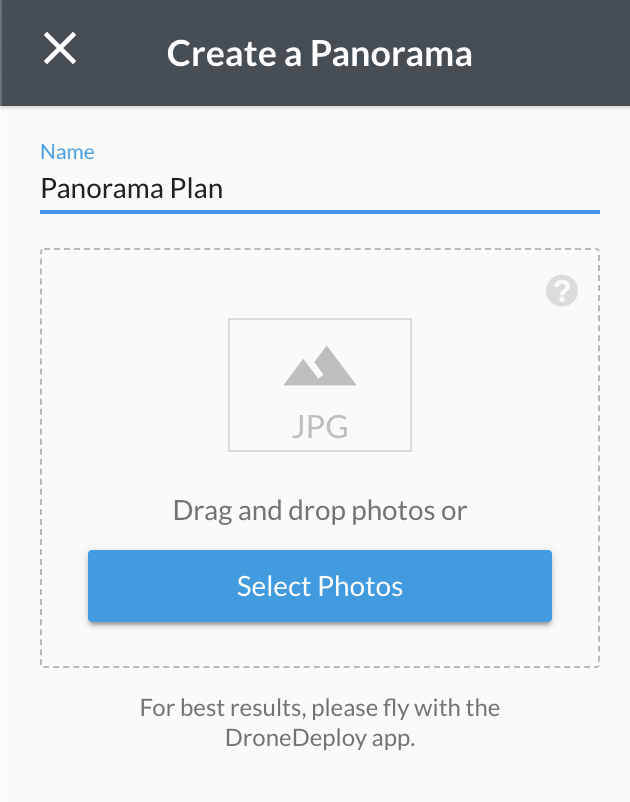
Once the flight is complete, your photos must be uploaded to DroneDeploy to be processed into a completed panorama.
Upload, processing, and hosting are available for Individual, Advanced, Teams, and Enterprise only.
We recommend using mobile upload as an easy way to gather the correct photos and upload them without checking your SD card. Desktop upload is always available.


You will receive an email when your panorama is finished processing and ready to view!