After you've navigated to the Auto Exports settings window for your Project and have configured the parameters for your export, you're ready to finalize the Auto Export by pointing it to a destination.
To point it towards Azure, first install the Azure Auto Export app available at the DroneDeploy App Market.
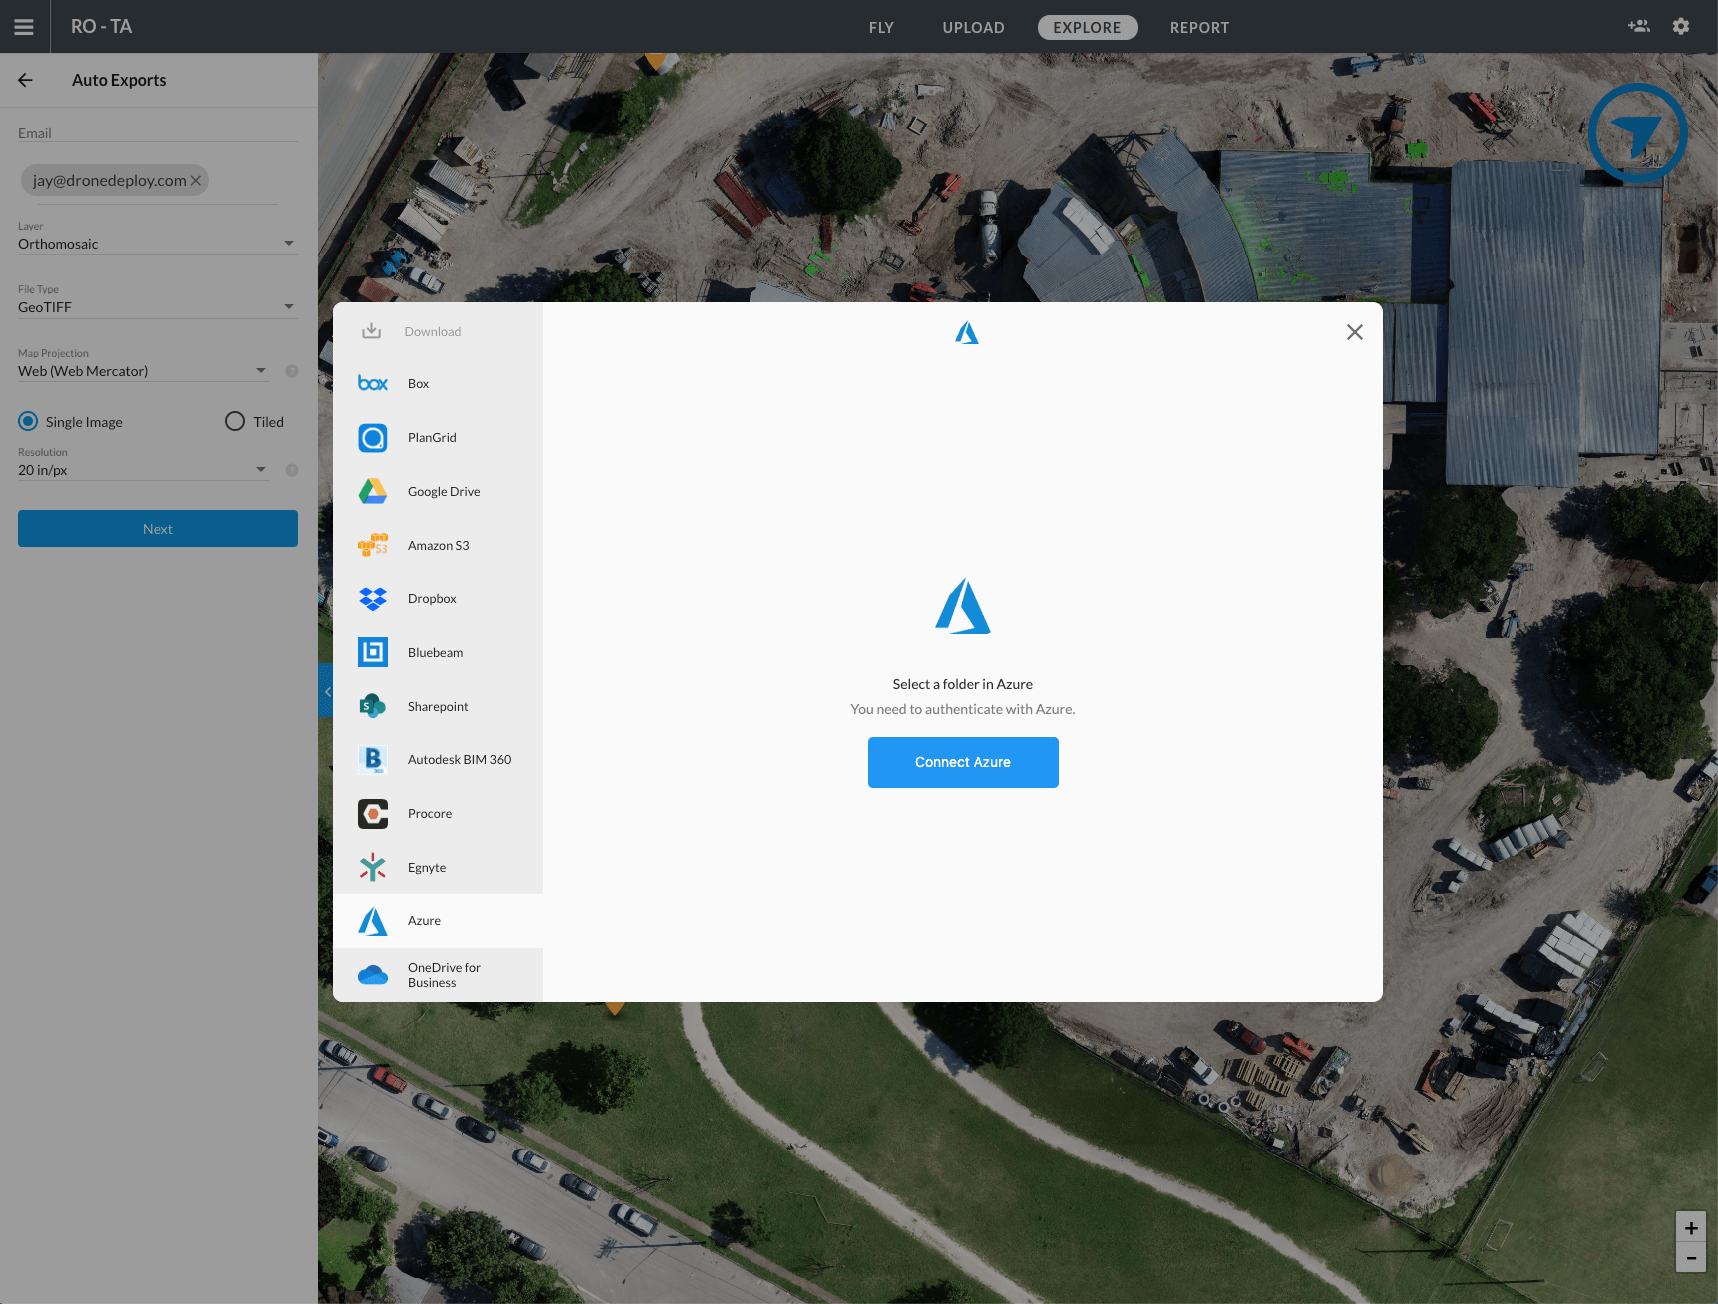
After installing the correct app, Azure will show up in the bottom left-hand side of the pop-up window after you make your Auto Exports selection. Please be sure to select it, and connect to Azure by clicking the "Connect Azure" button.

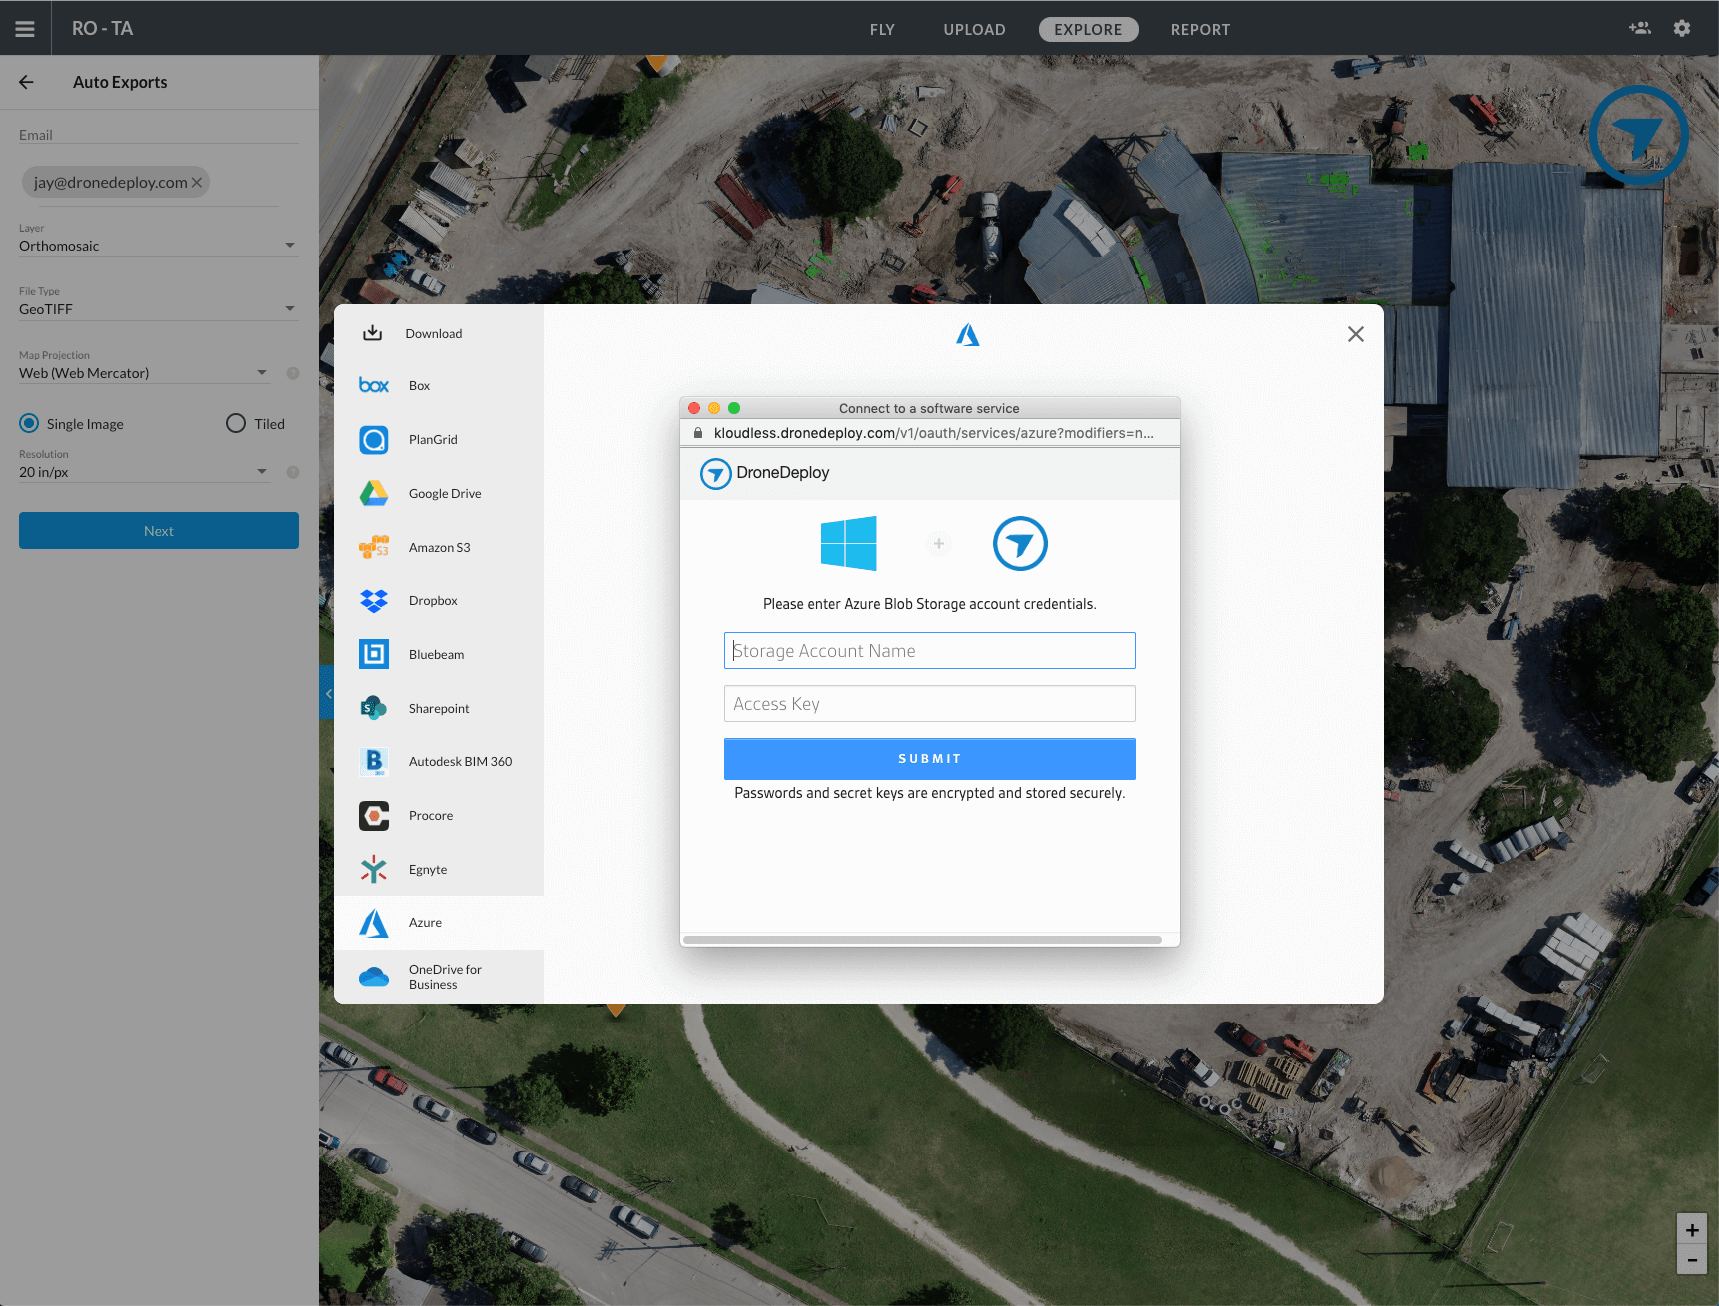
Use your Azure Storage Account Name Key and Access Key to connect to Azure.

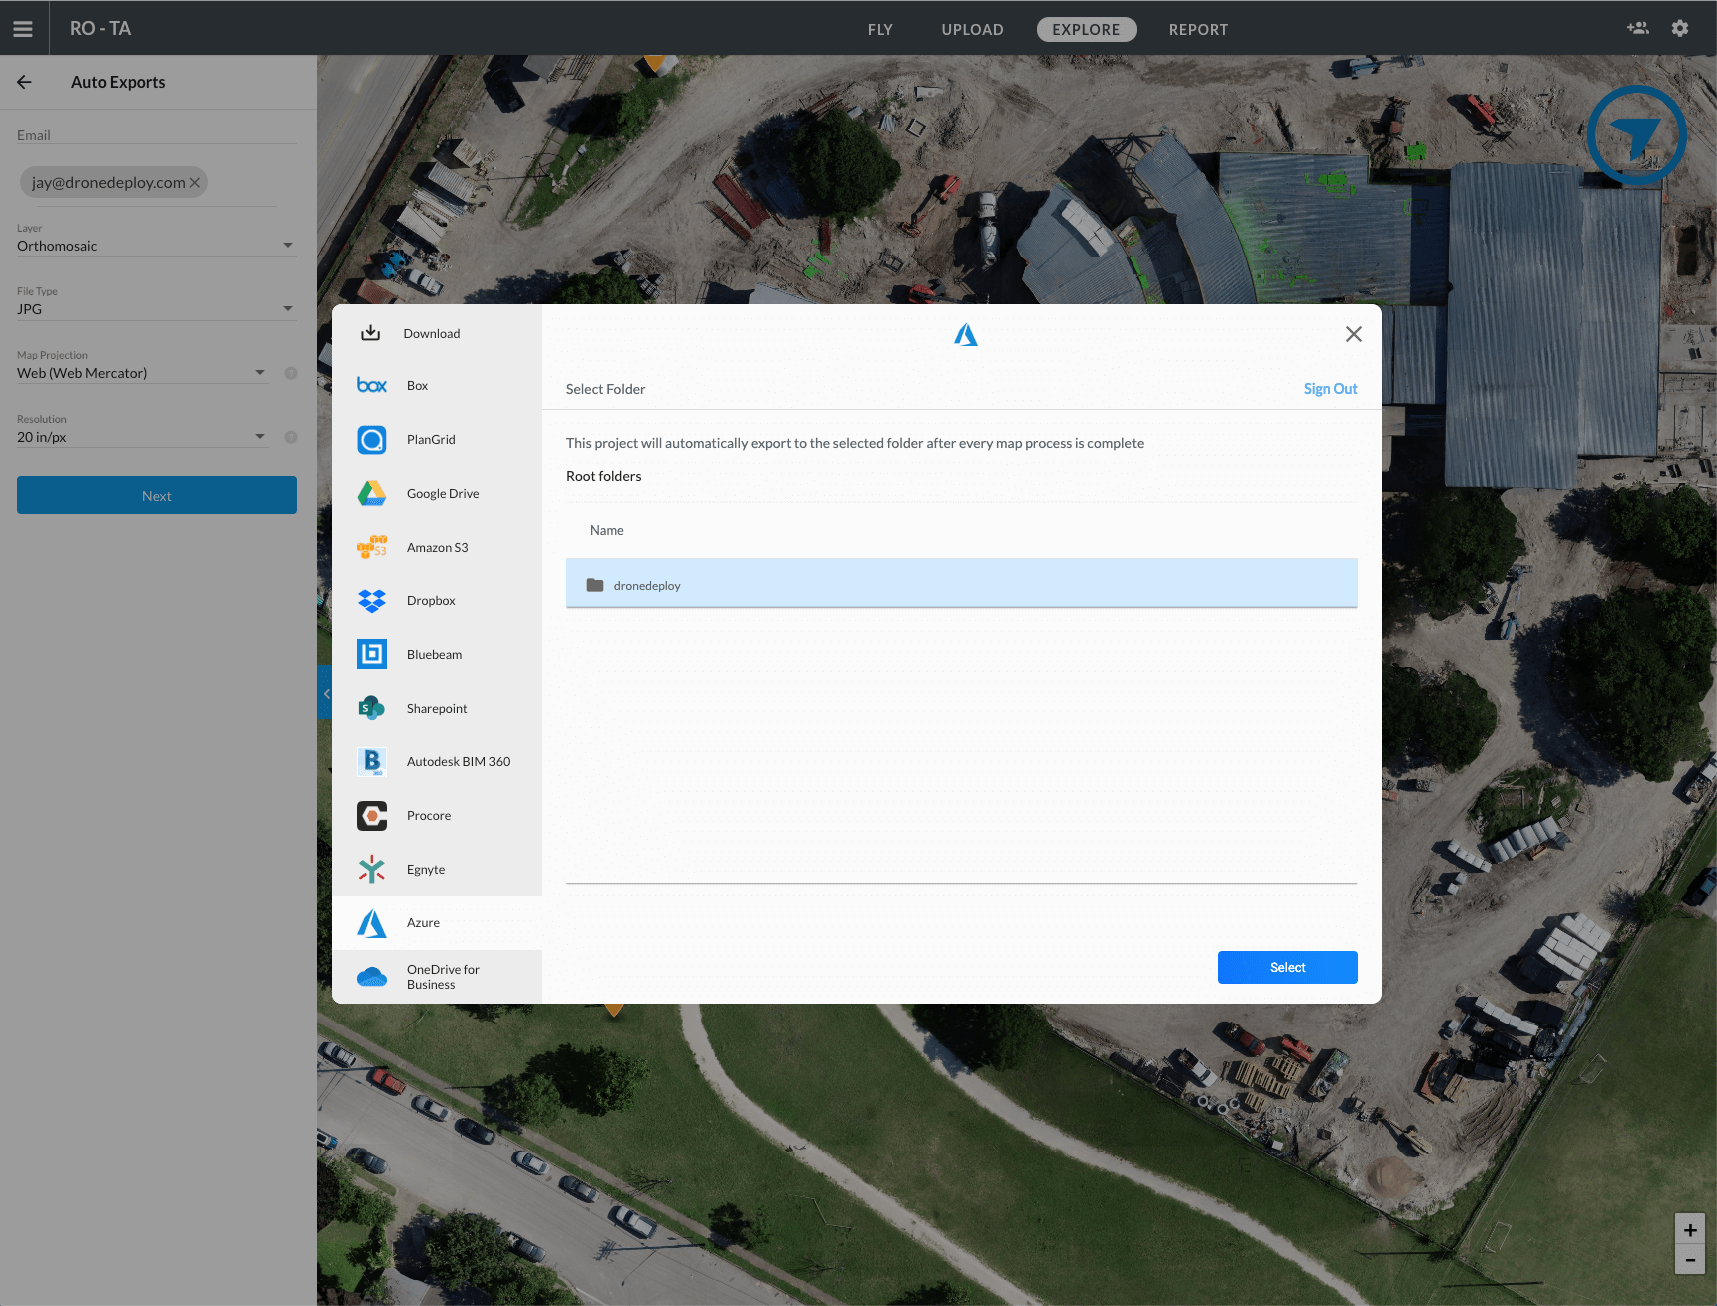
After choosing your desired Azure folder, please press 'Select' in the bottom right-hand corner of your screen:

After choosing "Select", you'll receive a notification showing that the Auto Export was created.
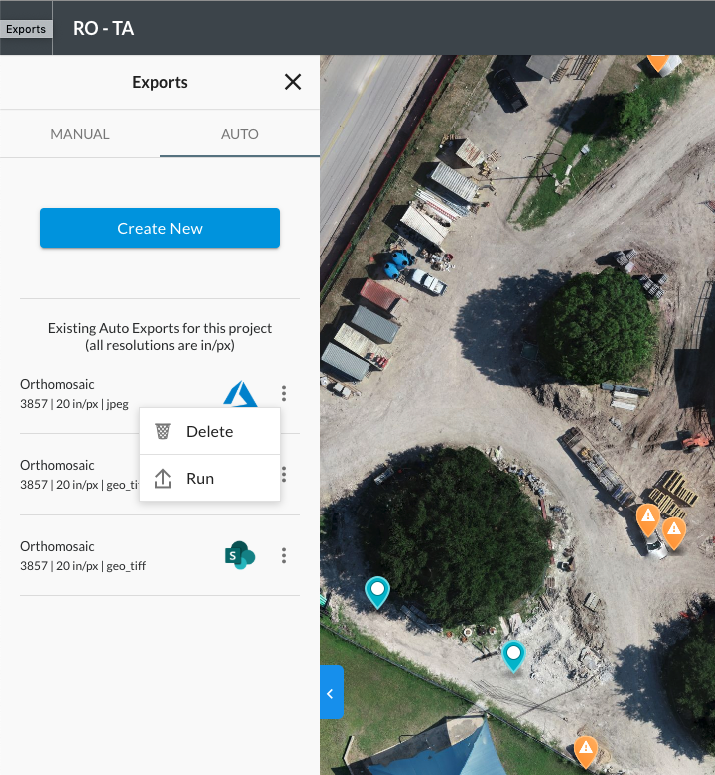
You can see your configured Auto Exports under the Auto Exports menu section. You can delete an Auto Export by pressing on the 3 dots next to the name of the Export or run the export on the selected map.

Exports from maps uploaded in the future will now be available in your selected folder.