After you've navigated to the Auto Exports settings window for your Project and have configured the parameters for your export, you're ready to finalize the Auto Export by pointing it to a destination.
To point it towards BIM 360, first install the BIM 360 Auto Export app available at the DroneDeploy App Market.
After installing the correct app, BIM 360 will show up in the lower middle left-hand side of the pop-up window after you make your Auto Exports selection. Please be sure to select it, and connect to BIM 360 by clicking the "Connect BIM 360" button.
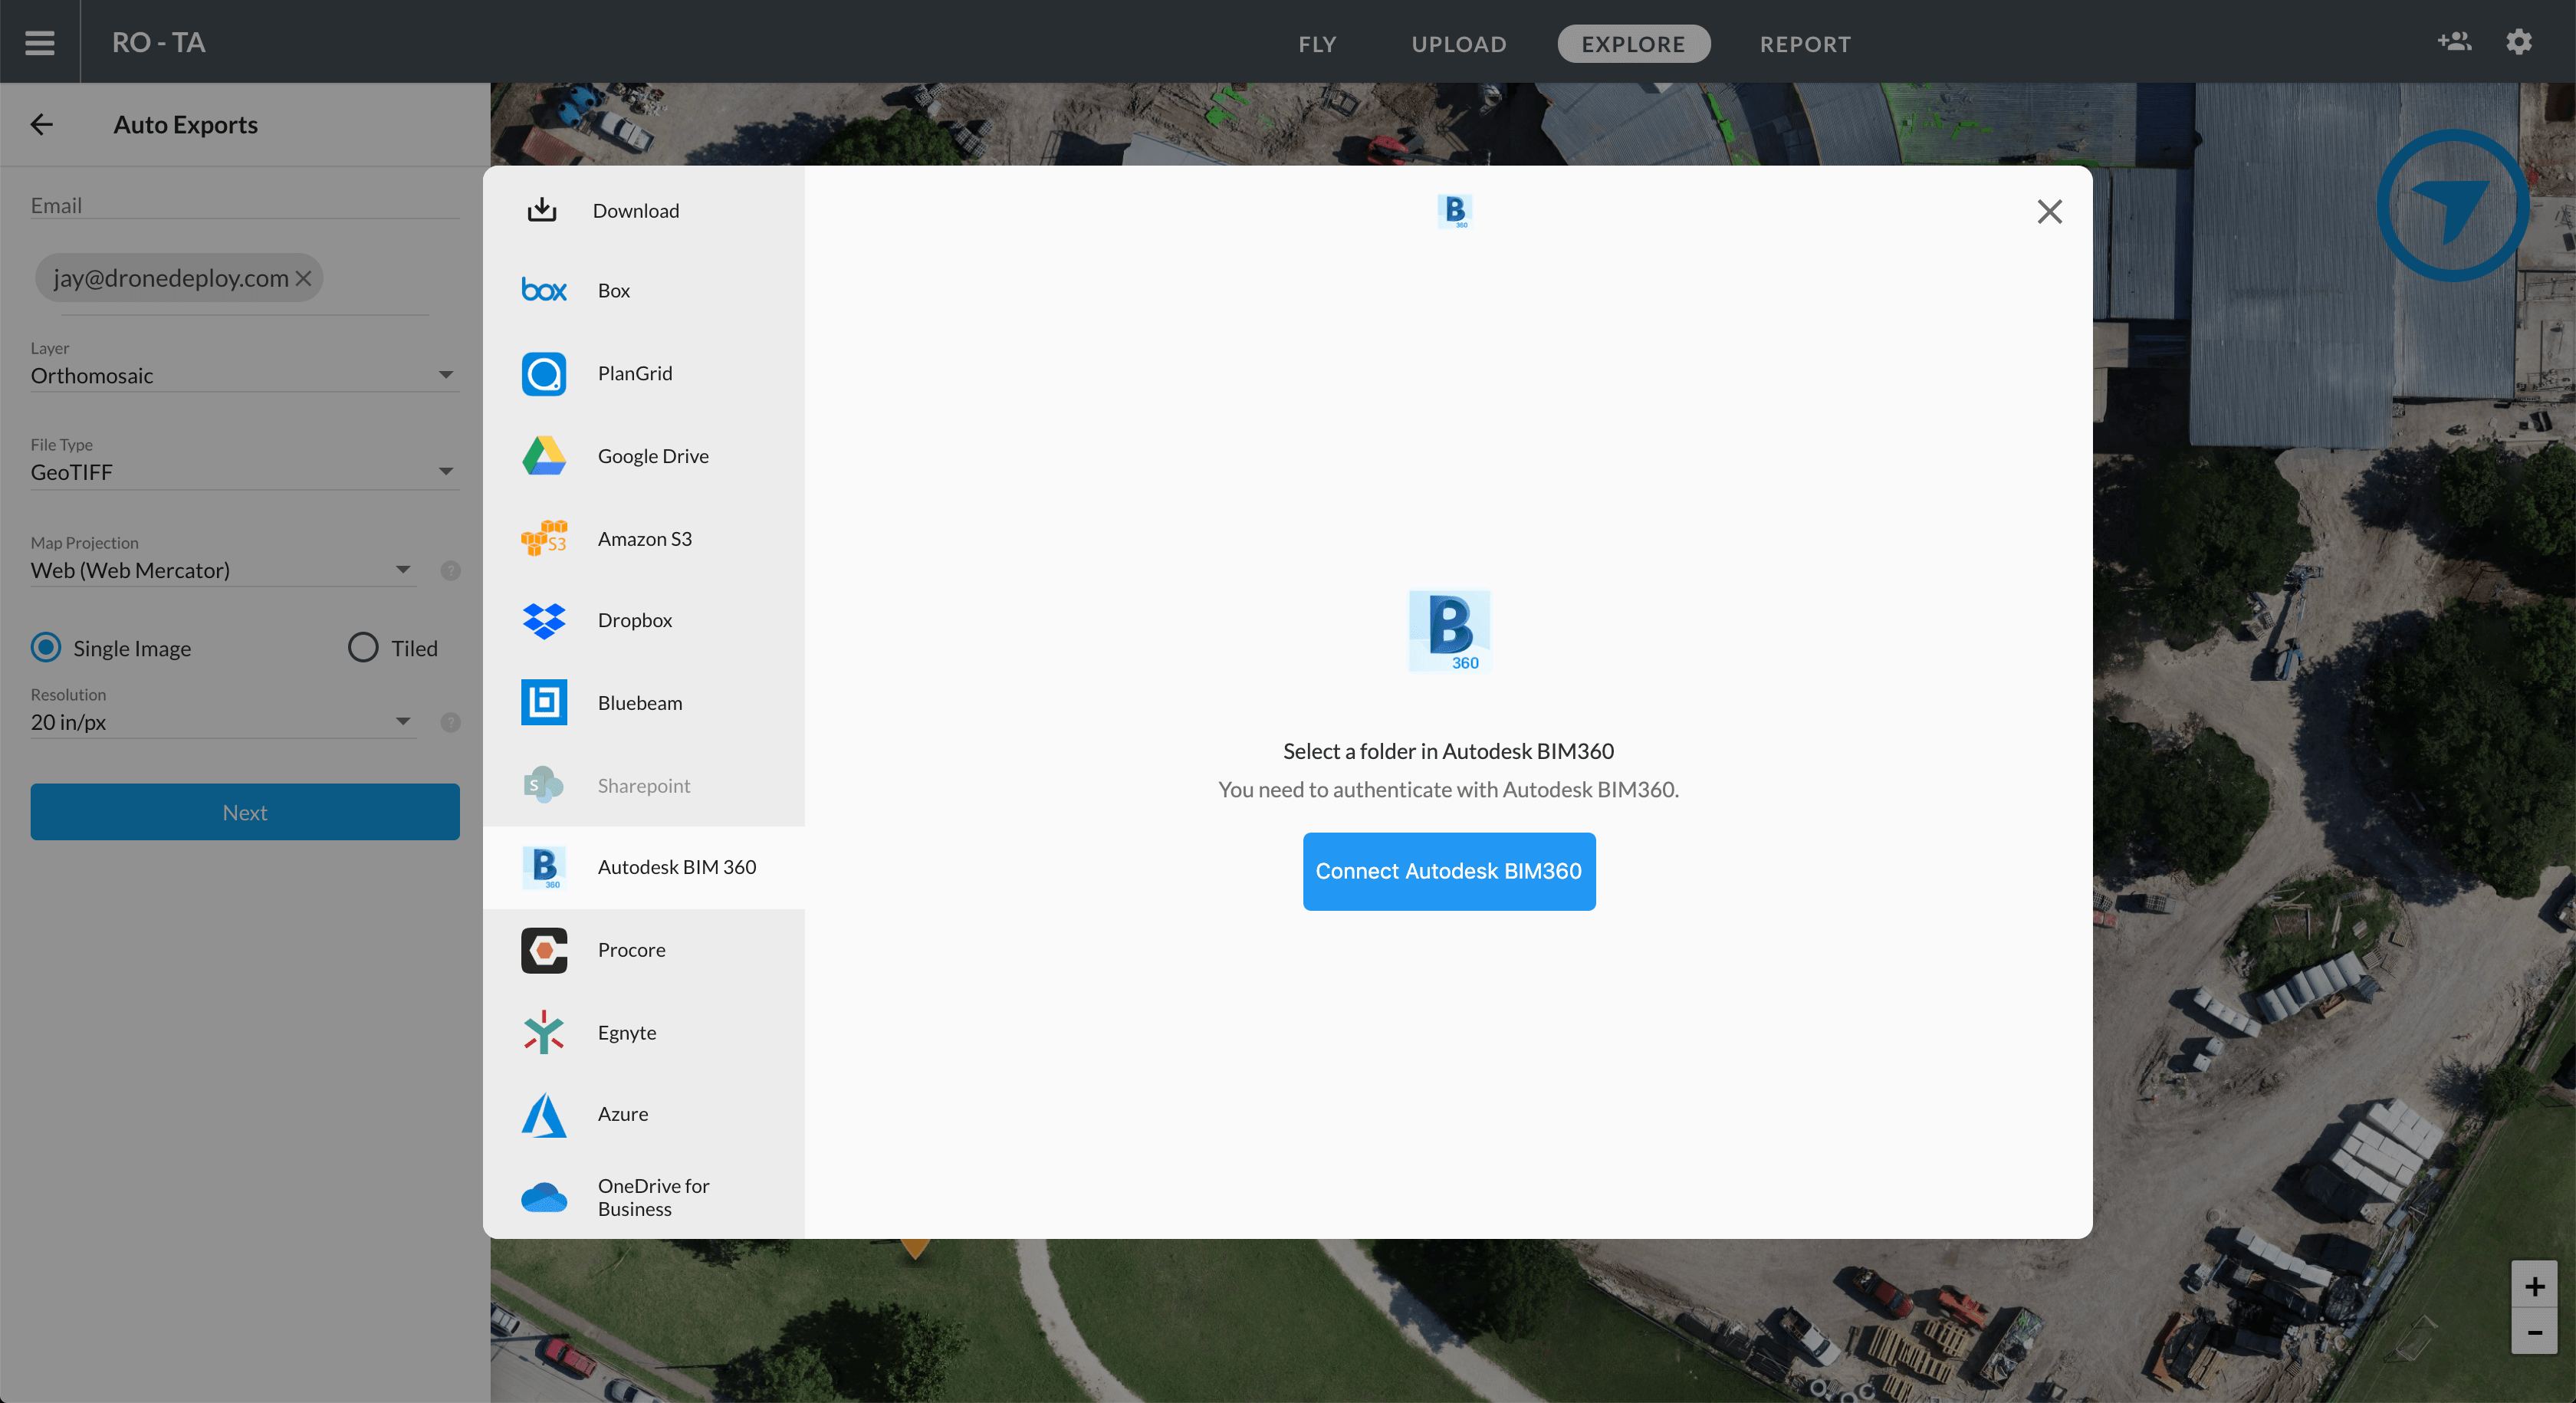
First navigate into the desired Hub.
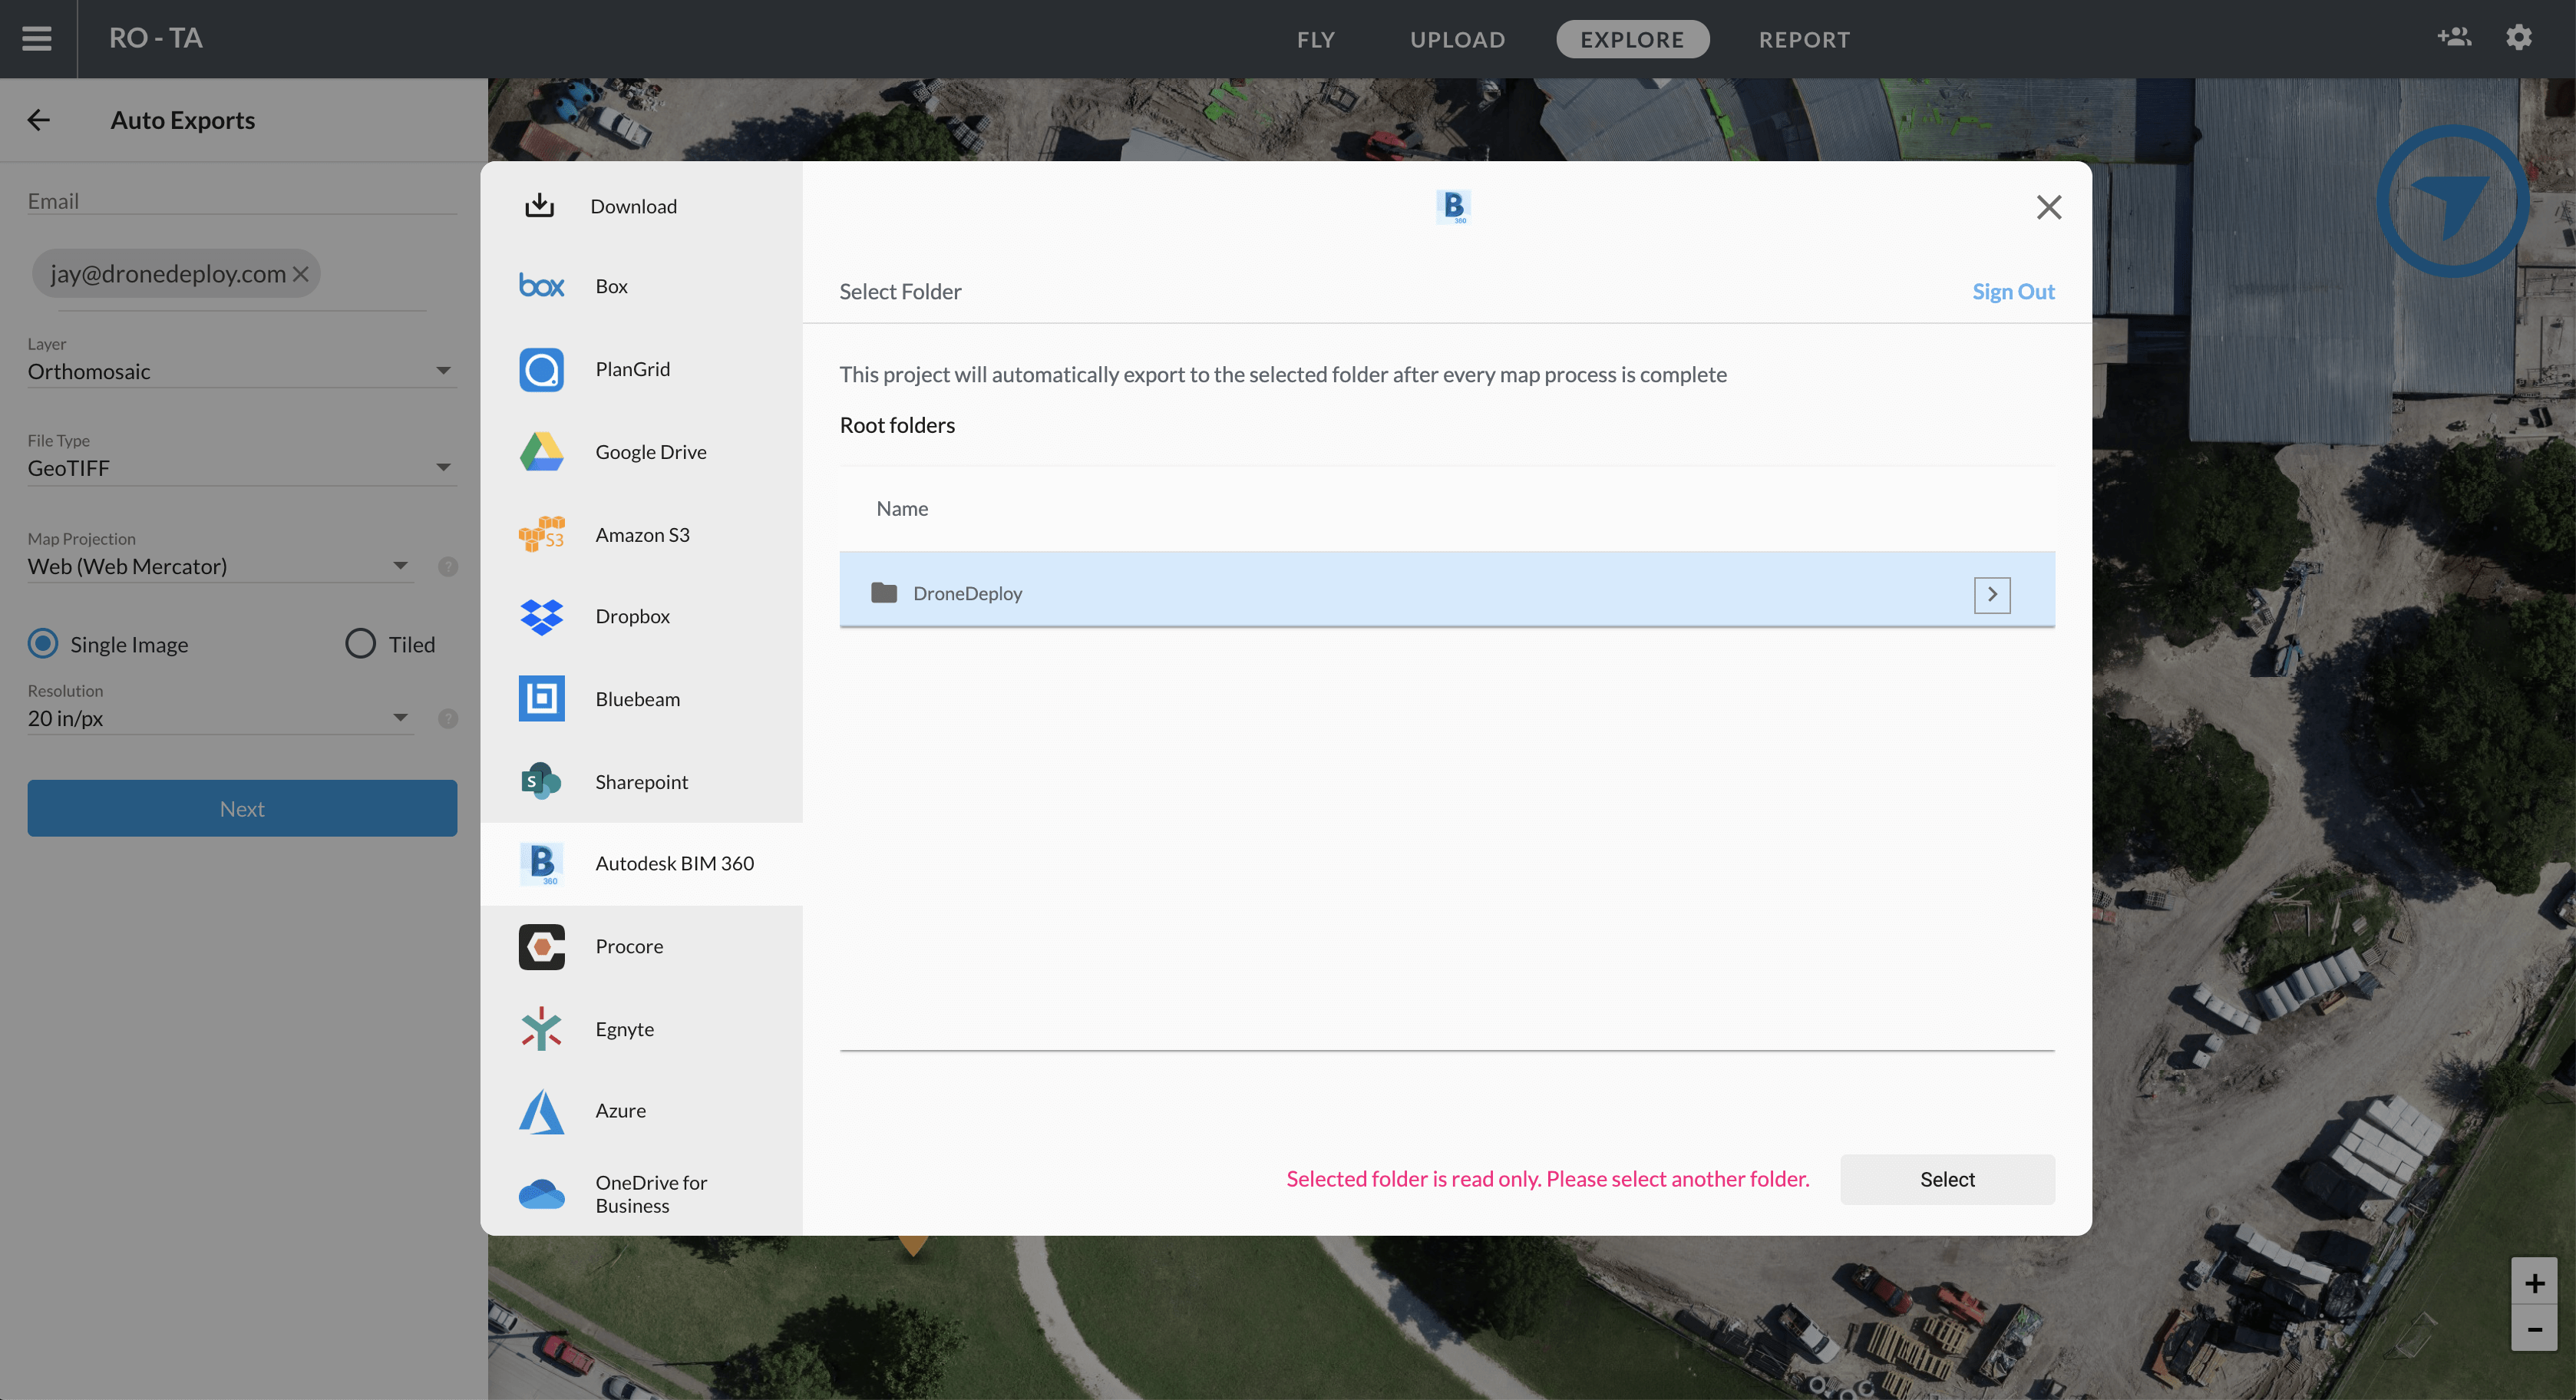
Then select the desired project:
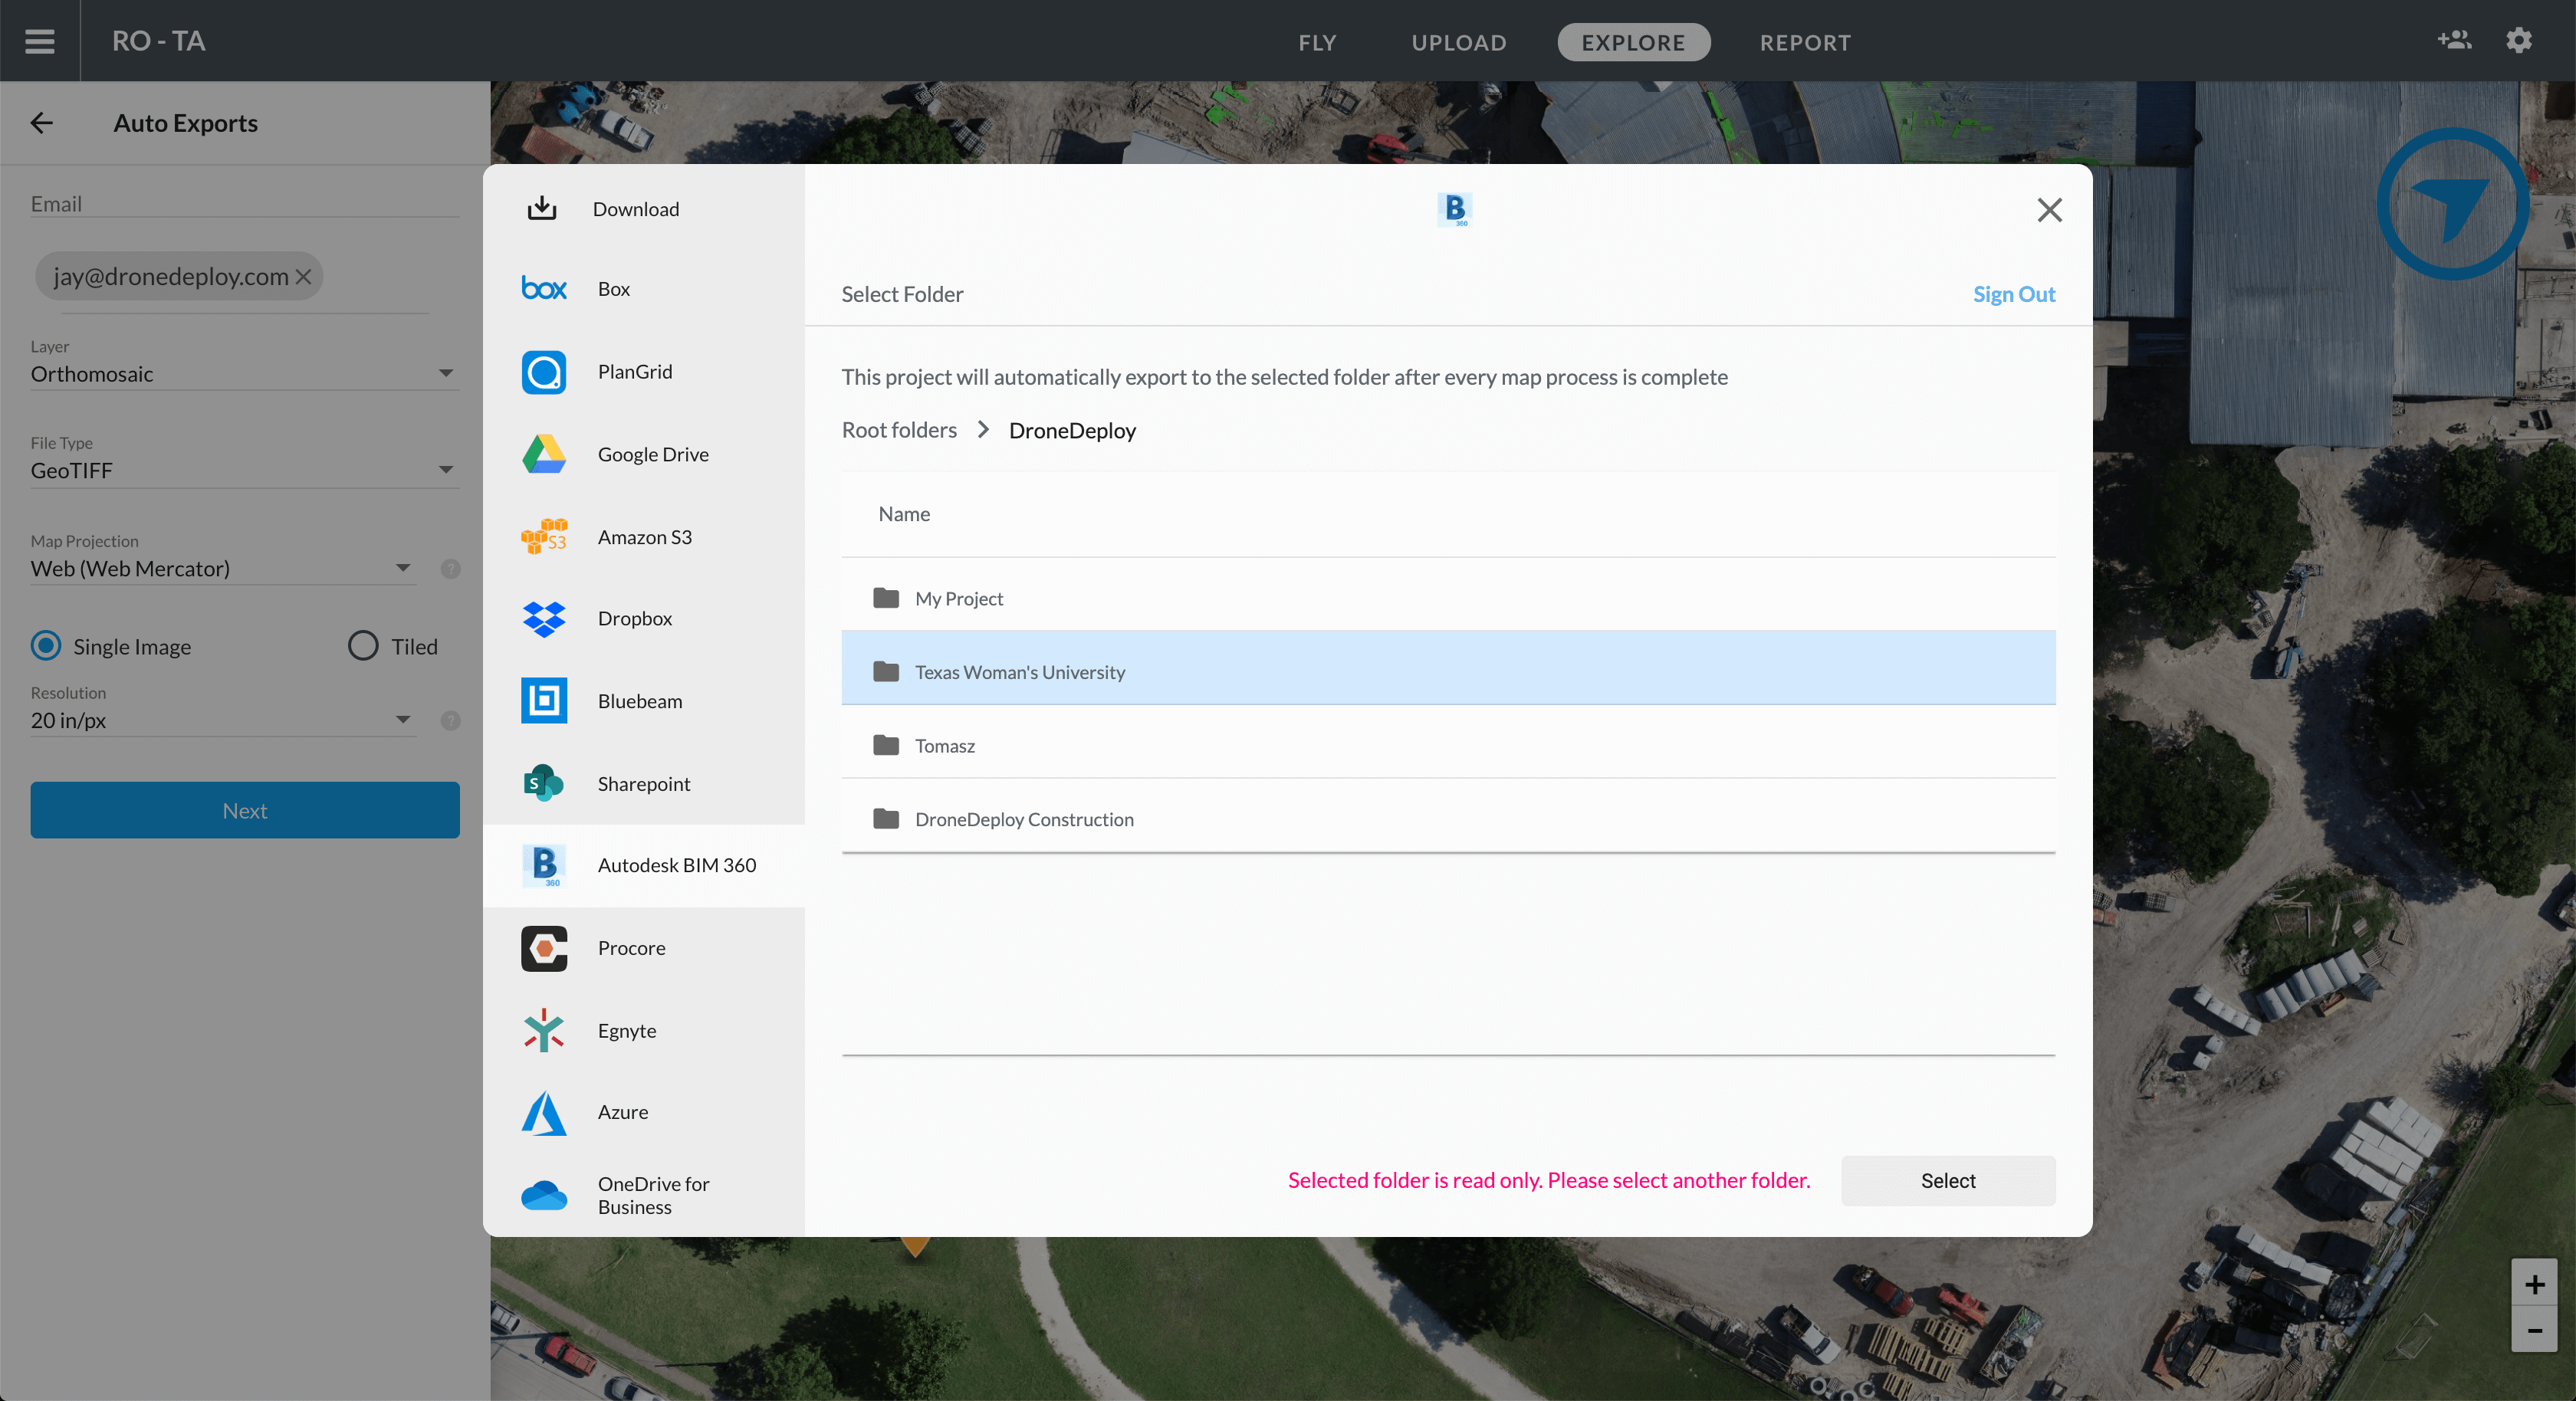
Then select to upload to your Plans (PDF only) or project files and select a folder.
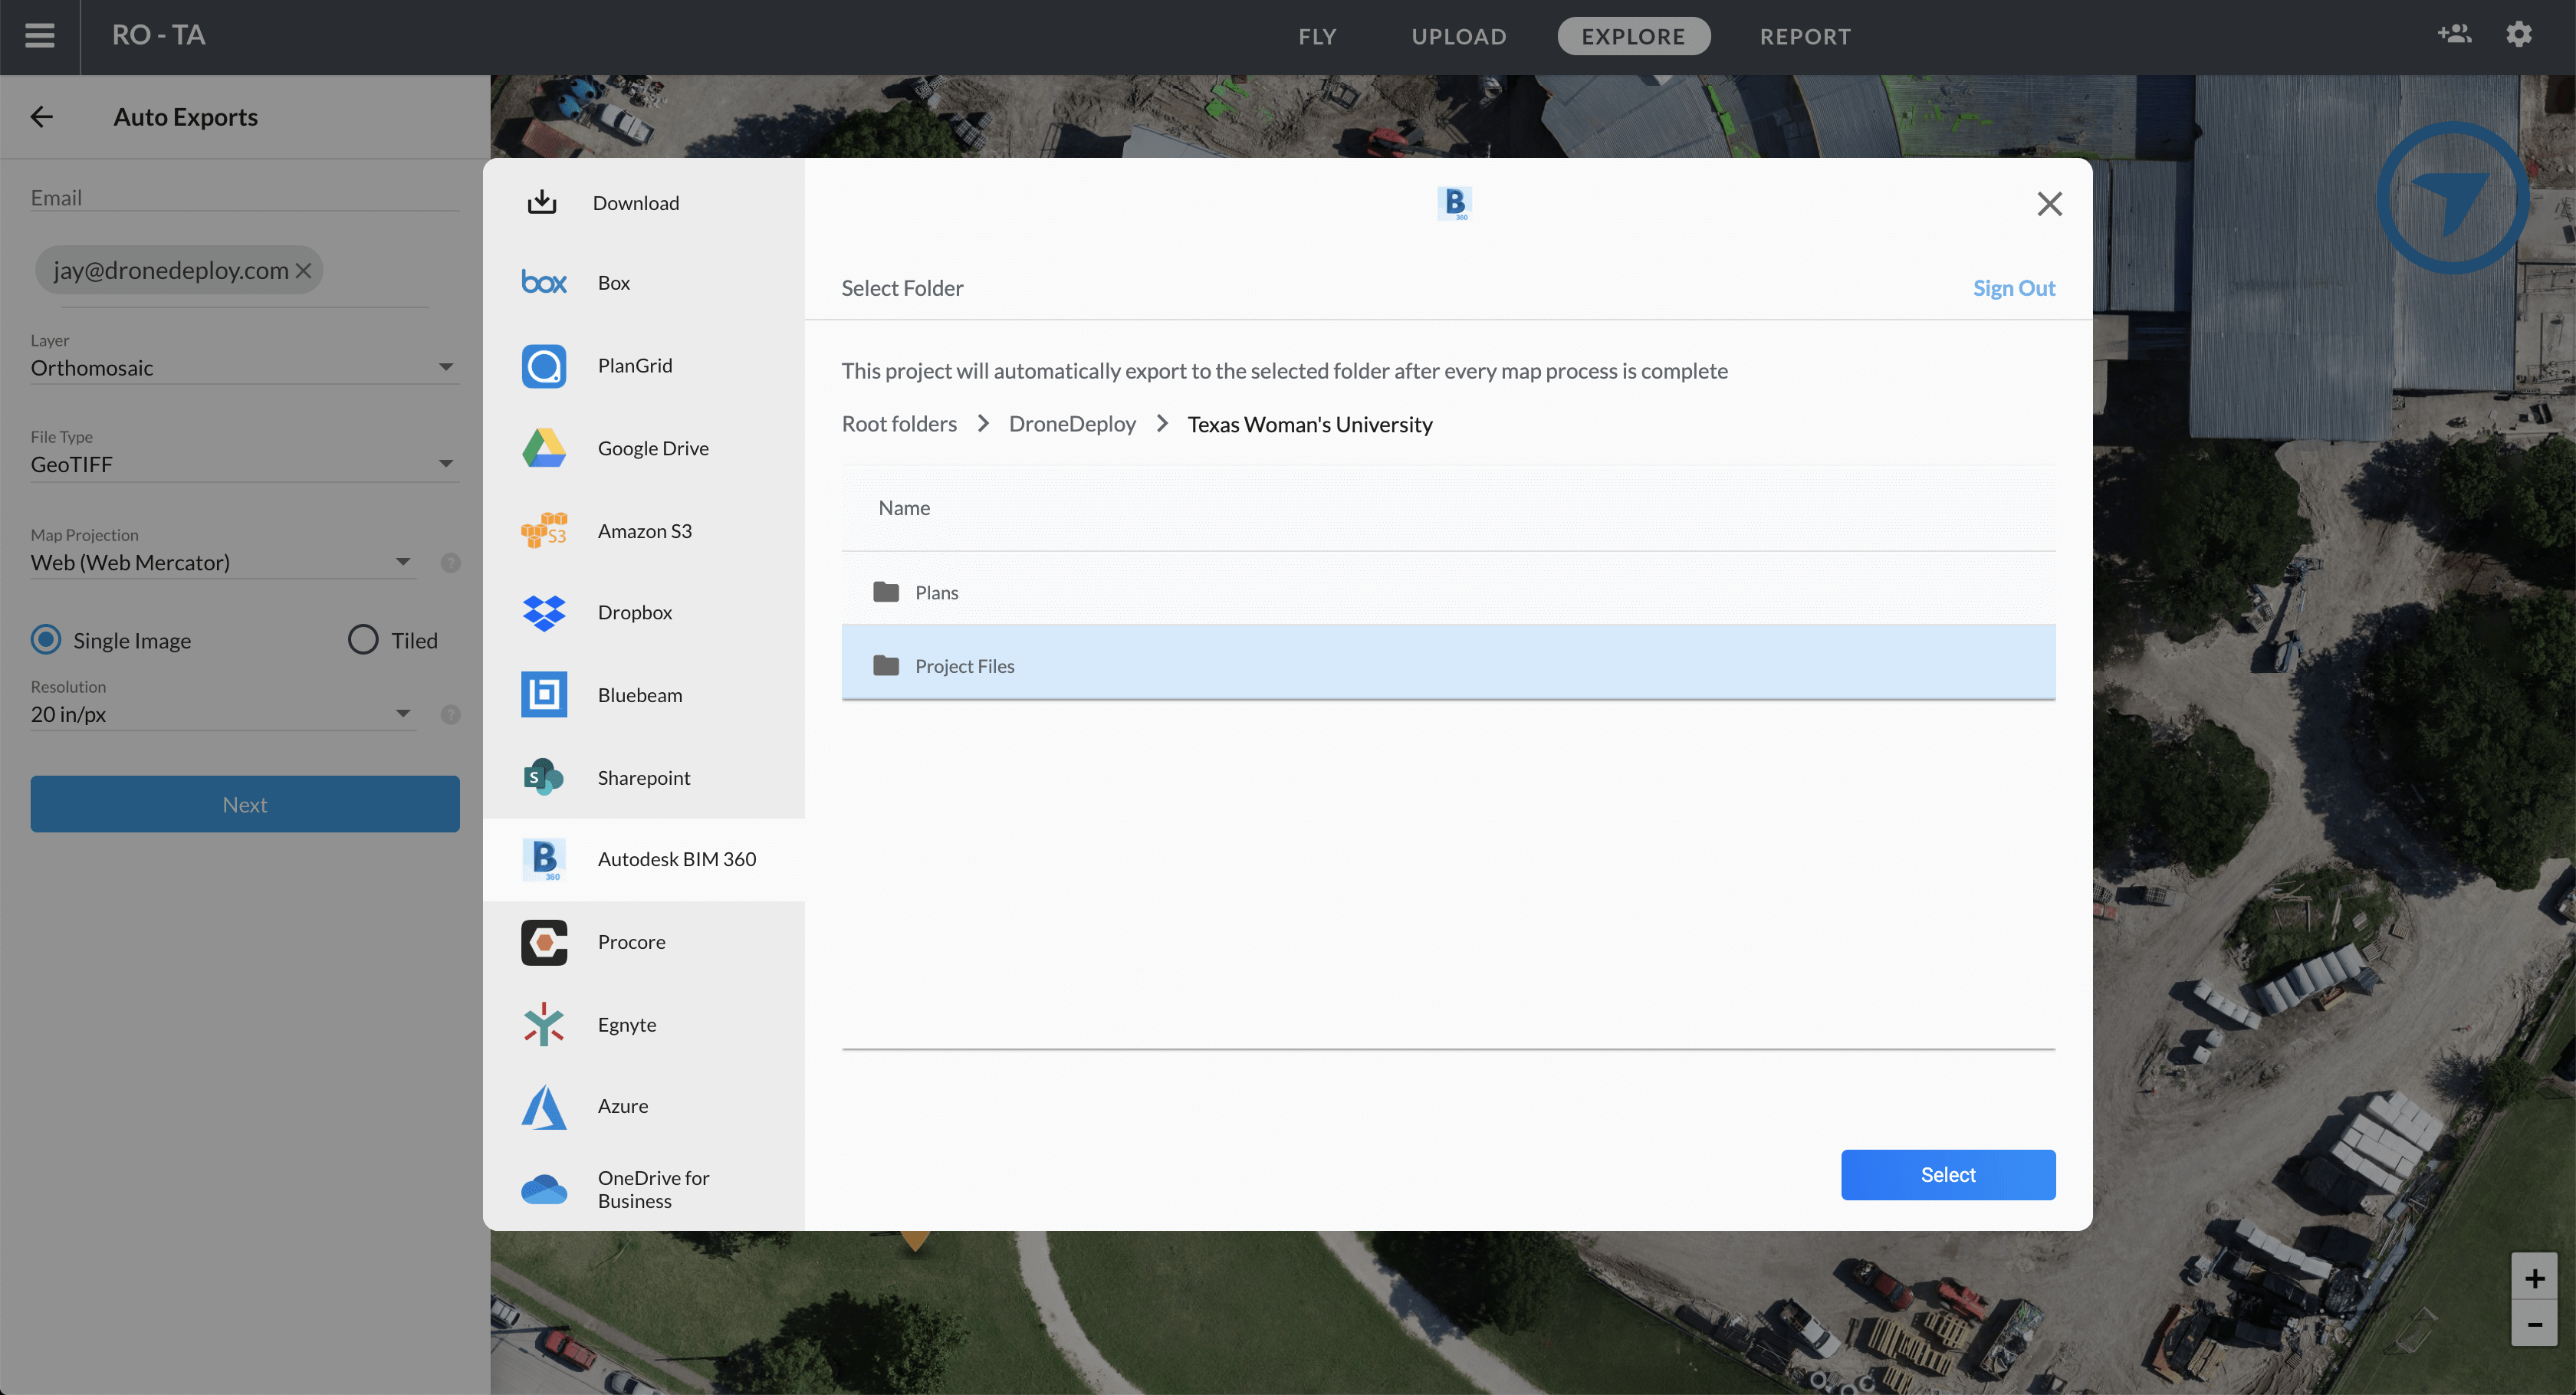
Once selected, you will get confirmation that your Auto Export has been created.
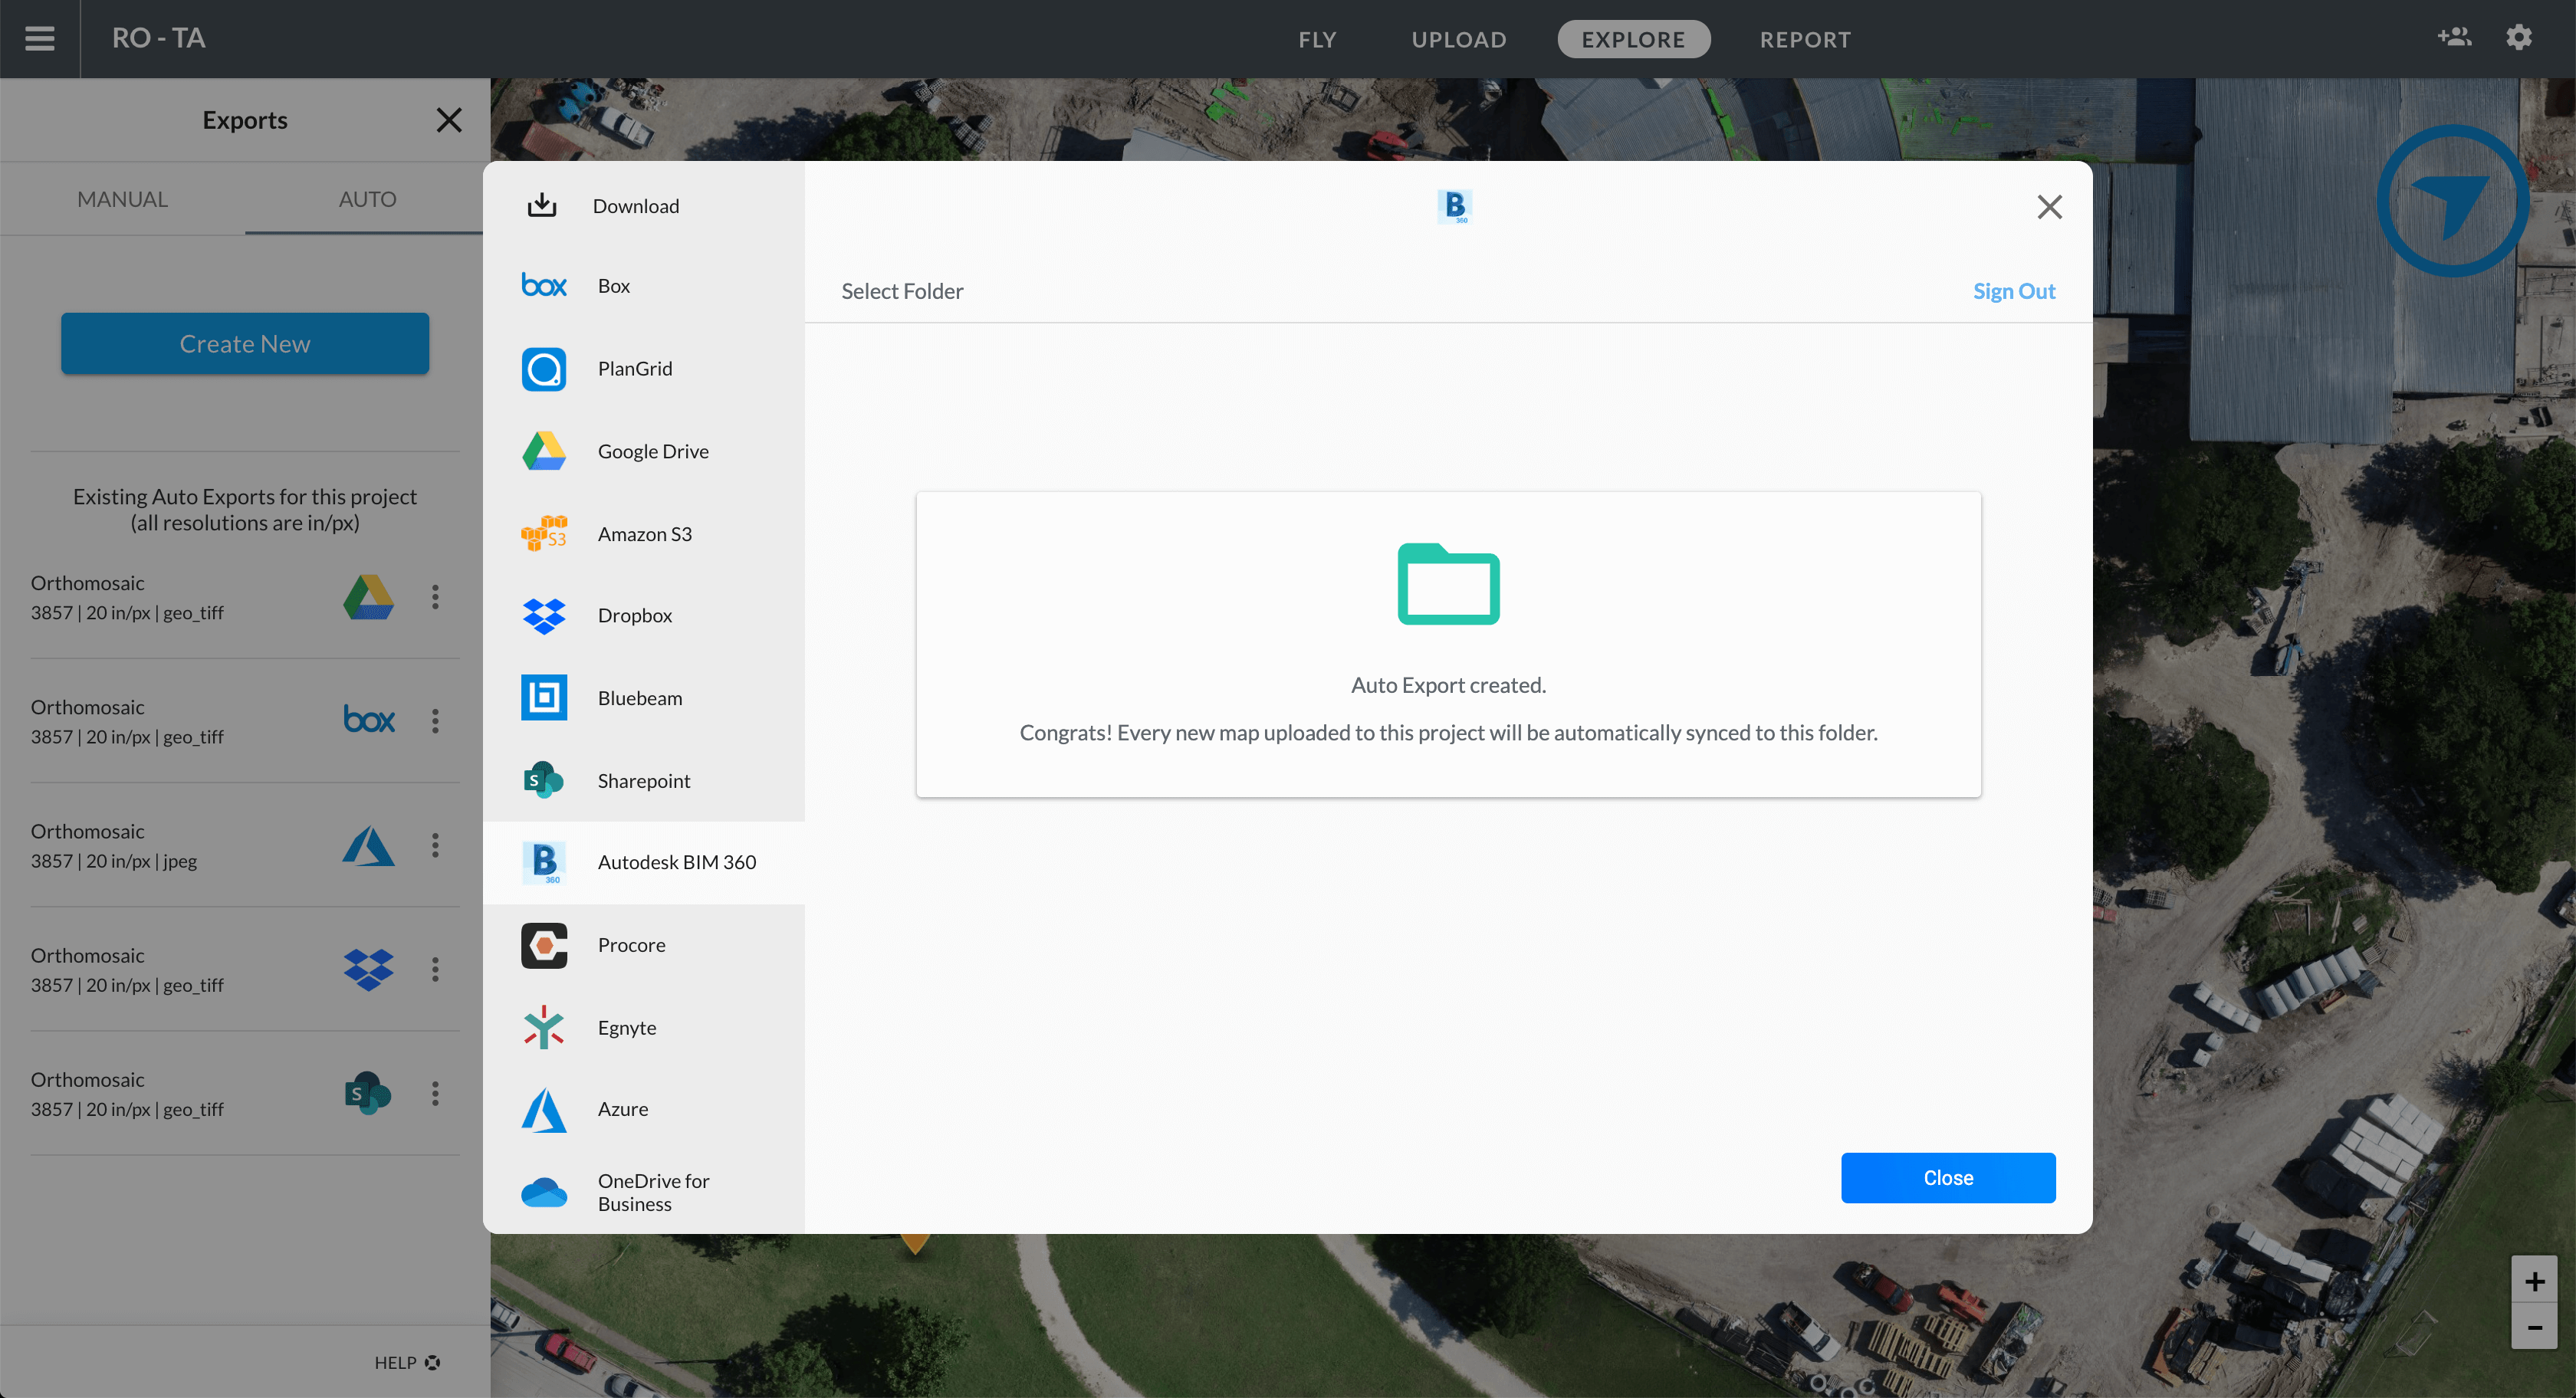
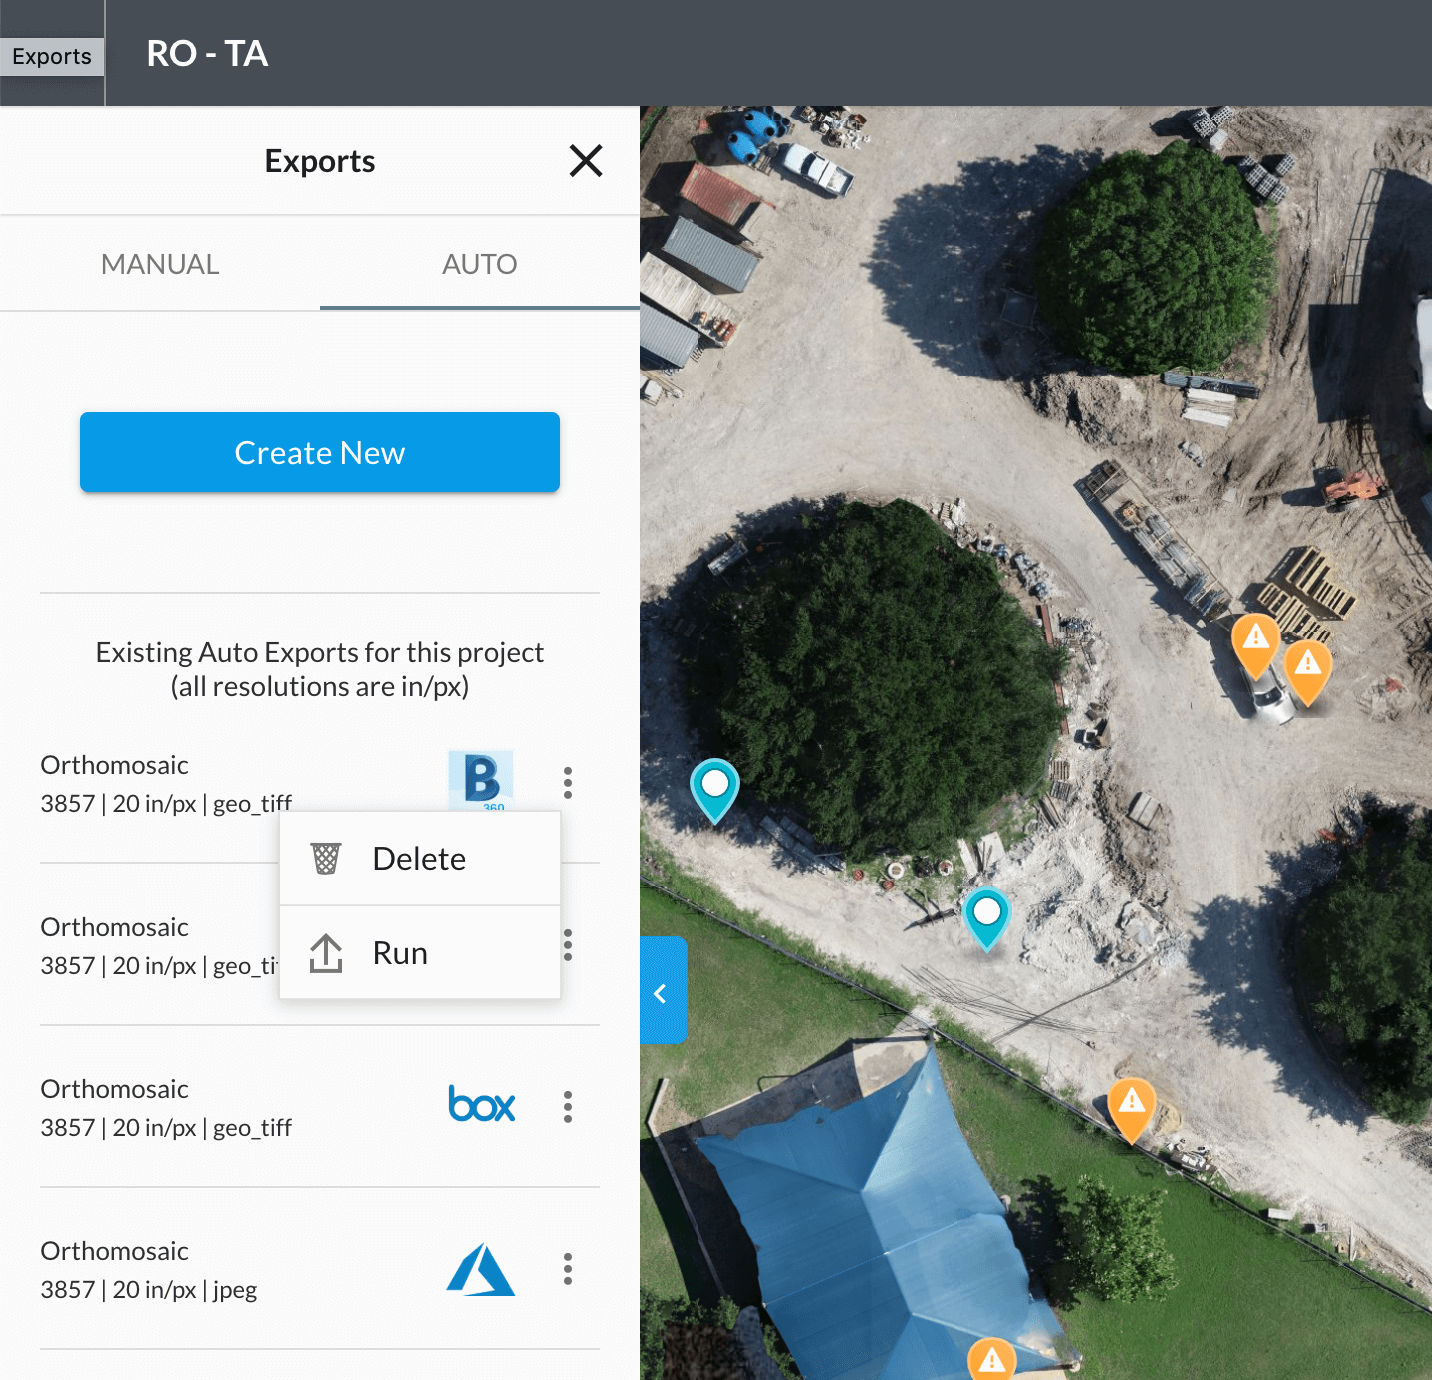
You can see your configured Auto Exports under the "Auto Exports" menu section. You can delete or run an Auto Export by pressing on the three dots to the right of the Export's name and making your selection.
Exports from maps uploaded in the future will now be available in your selected folder.