After you've navigated to the Auto Exports settings window for your Project and have configured the parameters for your export, you're ready to finalize the Auto Export by pointing it to a destination.
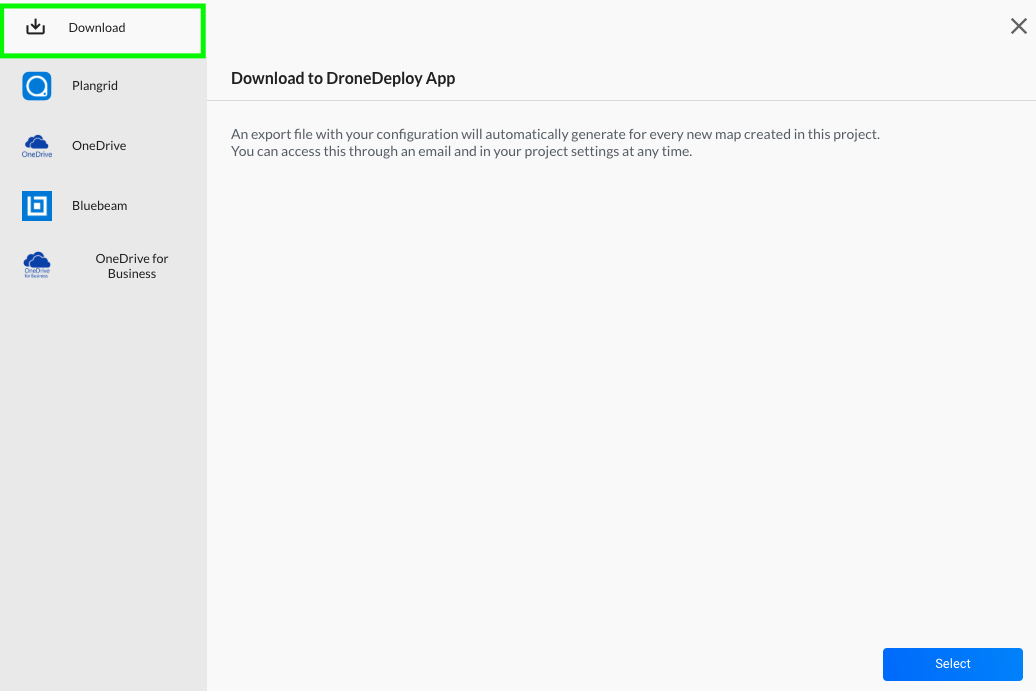
'Download' should be pre-selected as the first option. You can verify this in the top left hand corner of the pop up window:

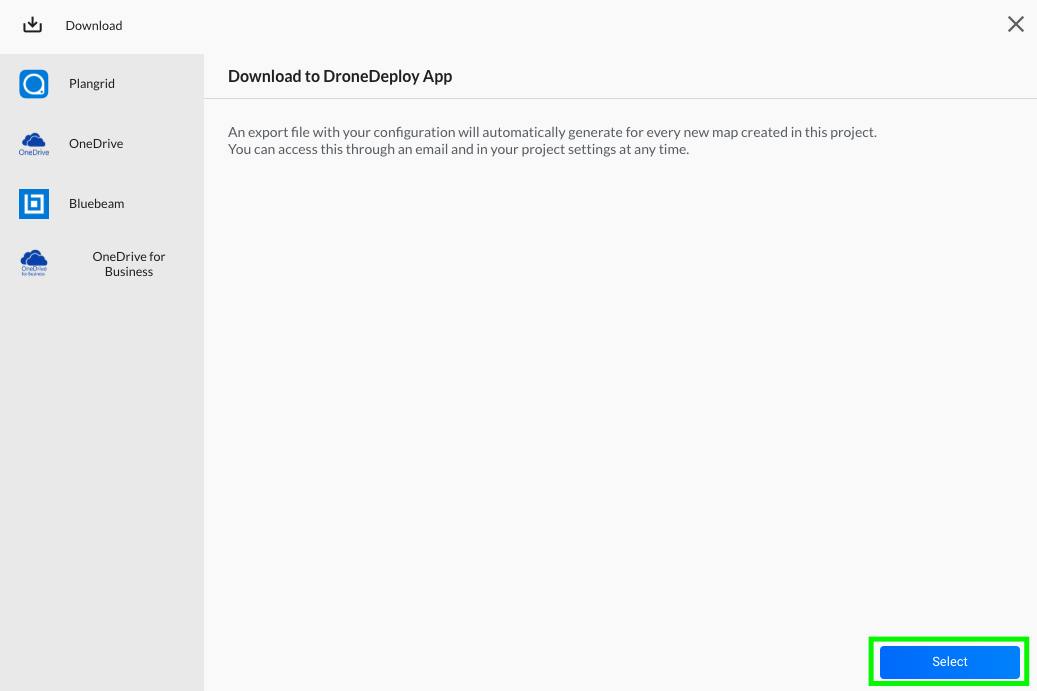
Once you've verified that 'Download' is selected, please press 'Select' in the bottom right hand corner of your screen to continue:

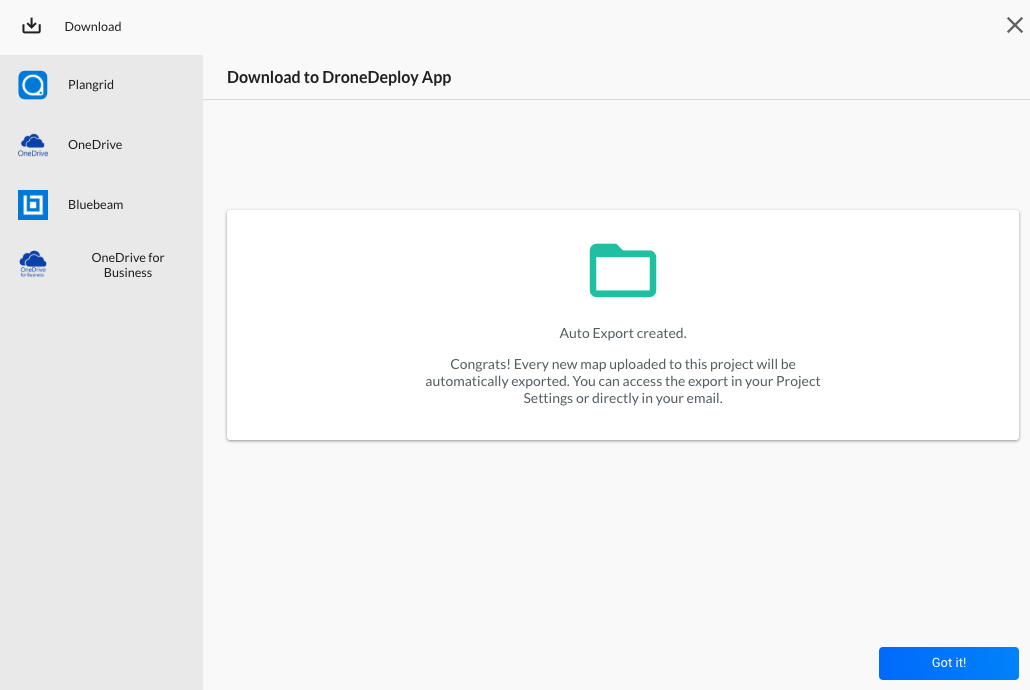
You'll then receive confirmation that the Auto Export has been successfully created:

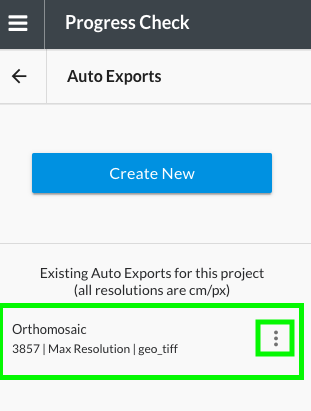
You can see your configured Auto Exports under the Auto Exports menu section. You can delete an Auto Export by pressing on the 3 dots next to the name of the Export:

For future maps that complete processing within the Project, you'll be able to access the export via email (if selected) and by navigating to the Auto Exports menu section.